In today’s fast-paced world, emergencies can strike at any moment, making it imperative for every household to be prepared. Imagine a scenario: you’re enjoying a family picnic when a small accident occurs—maybe a scrape or an insect bite. Having a DIY first aid kit readily available can make all the difference in providing immediate care. With the new year just around the corner, now is the perfect time to assemble your very own homemade first aid box, tailored to your unique needs and those of your family.
The importance of being equipped with the right medical supplies cannot be overstated. A well-stocked DIY first aid box empowers you to handle minor injuries and ailments effectively while also giving you peace of mind. This comprehensive guide will walk you through essential items to include, how to select the most suitable DIY first aid kit container, and easy-to-follow instructions for assembling your DIY first aid kit box.
Moreover, we will explore customization options that allow you to personalize your kit, ensuring you have everything necessary for your specific circumstances. Whether you are looking for a compact solution for travel or a full-sized kit for home use, this article will serve as your ultimate resource. Join us as we dive deeper into creating a practical and effective first aid solution for 2024!
Essential Items for Your DIY First Aid Box: A Comprehensive Guide
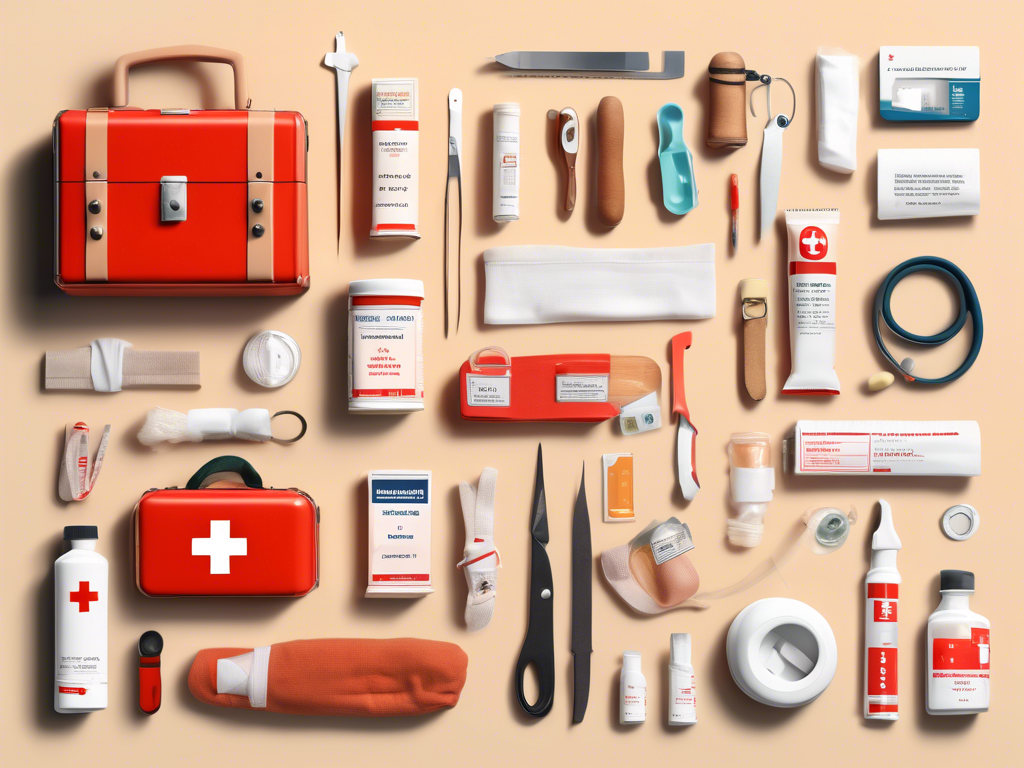
Basic Medical Supplies
When assembling your diy first aid box, start with the basic medical supplies that can address common injuries. Consider including:
– Adhesive bandages (various sizes) 🩹
– Sterile gauze pads and adhesive tape
– Antiseptic wipes or solutions ✋
– Tweezers and scissors ✂️
These items are crucial for treating minor cuts, scrapes, and abrasions effectively. You can find these supplies at local pharmacies or online retailers.
Medications and Treatments
Next, stock your diy first aid kit container with essential medications. It’s wise to include:
– Pain relievers like ibuprofen or acetaminophen 💊
– Antihistamines for allergic reactions 🌼
– Hydrocortisone cream for itching and rashes
– Any personal prescription medications
Always check expiration dates and replace old medications regularly to ensure your homemade first aid box is always ready when needed.
First Aid Instruction Manual
To maximize the effectiveness of your diy first aid kit box, include a first aid instruction manual. This book or printed guide can provide critical information on how to treat injuries and respond to emergencies. 📚 It’s helpful to have this resource handy in case you’re unsure of what to do in particular situations.
Items for Specific Needs
Depending on your household or lifestyle, consider adding items tailored to specific needs such as:
– Instant cold packs for sprains and bruises ❄️
– Burn cream or gel for minor burns
– Eye wash solution
– Safety pins and elastic bandages
Customizing your homemade first aid box ensures you’re always prepared for any situation that may arise, especially during outdoor activities or family gatherings.
Storage Tips and Maintenance
After filling your diy first aid kit, proper storage and maintenance are key. Choose a waterproof bag or a durable plastic container to keep everything organized. Regularly review its contents every few months to remove expired items and restock supplies as necessary. Keep your first aid kit in an accessible location that all family members are aware of. 🏠
By following these guidelines to create your essential DIY first aid box, you’ll be well-equipped to handle minor emergencies and injuries in 2024.
Choosing the Right DIY First Aid Kit Container: What You Need to Know
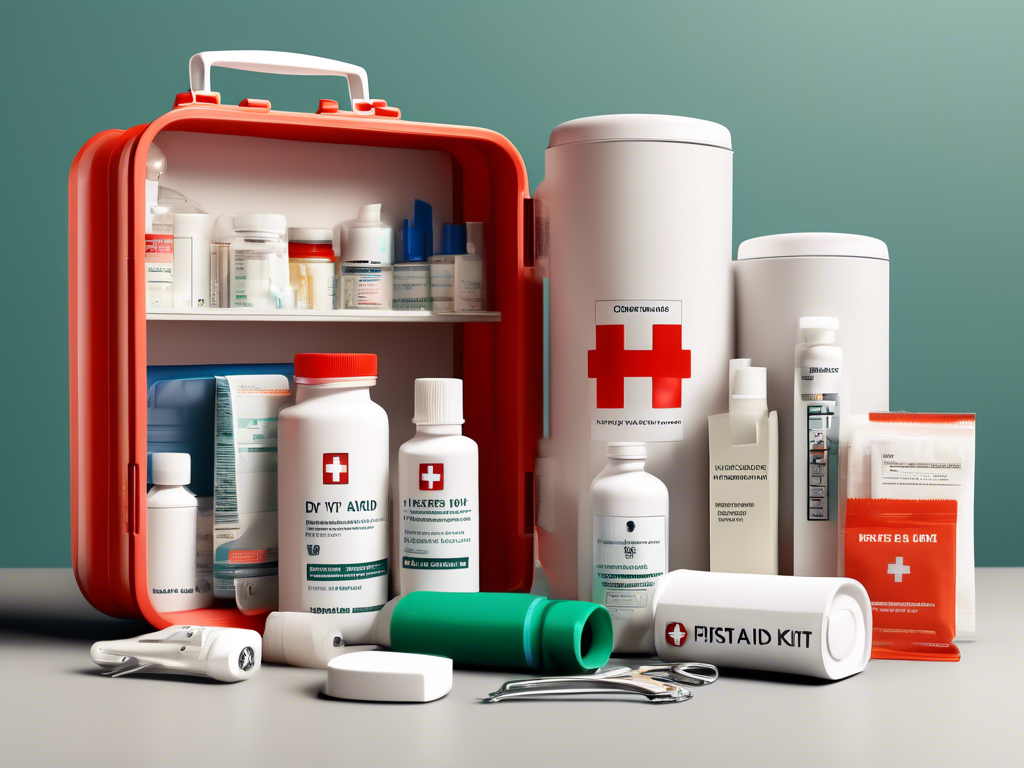
Material Matters: Finding the Right DIY First Aid Kit Container
When selecting a diy first aid kit container, the material is crucial for ensuring durability and protection of your supplies. Look for containers made from:
– Sturdy plastic 🧊
– Water-resistant materials 💧
– Lightweight yet durable fabric
These materials will help safeguard your first aid essentials against moisture and impact, preserving their effectiveness during emergencies.
Size and Capacity: How Much Space Do You Need?
The size of your diy first aid kit box should depend on the number of items you plan to store. Consider the following:
– A small container for basic supplies and medications
– A medium-sized kit for families or active individuals
– A larger case for a comprehensive collection that includes specialized items
Choose a size that not only fits your current needs but also allows room for future additions as your lifestyle or family grows. 📦
Organization Features: Keeping Your Supplies in Order
An effective homemade first aid box is well-organized. Look for containers that feature:
– Separate compartments for different supplies
– Clear labeling options for quick identification
– Zippered pockets or elastic bands to secure items
Organization enhances accessibility during emergencies, helping you find the right tools without wasting precious time. ⏱️
Portability: Make It Easy to Carry
Consider how often you might need to transport your diy first aid kit container. Choose a design that offers ease of portability:
– Handles or straps for comfortable carrying
– Lightweight materials to minimize extra weight
– Compact designs that can fit in bags or vehicle storage
A portable first aid kit ensures you’re always equipped, whether at home, on the road, or enjoying the great outdoors. 🚗
Finish and Design: Aesthetics Matter!
While functionality is key, don’t overlook the aesthetics of your diy first aid kit box. Opt for designs that:
– Are visually appealing for easy recognition
– Have bright colors or patterns to stand out
– Include reflective materials for visibility in low light situations
A stylish yet functional container adds an element of motivation to keep your first aid supplies ready for action! 🎨
By considering these aspects when choosing your diy first aid kit container, you’ll ensure that your first aid supplies are not only protected but also organized and accessible whenever the need arises.
Step-by-Step Instructions to Assemble Your Homemade First Aid Box
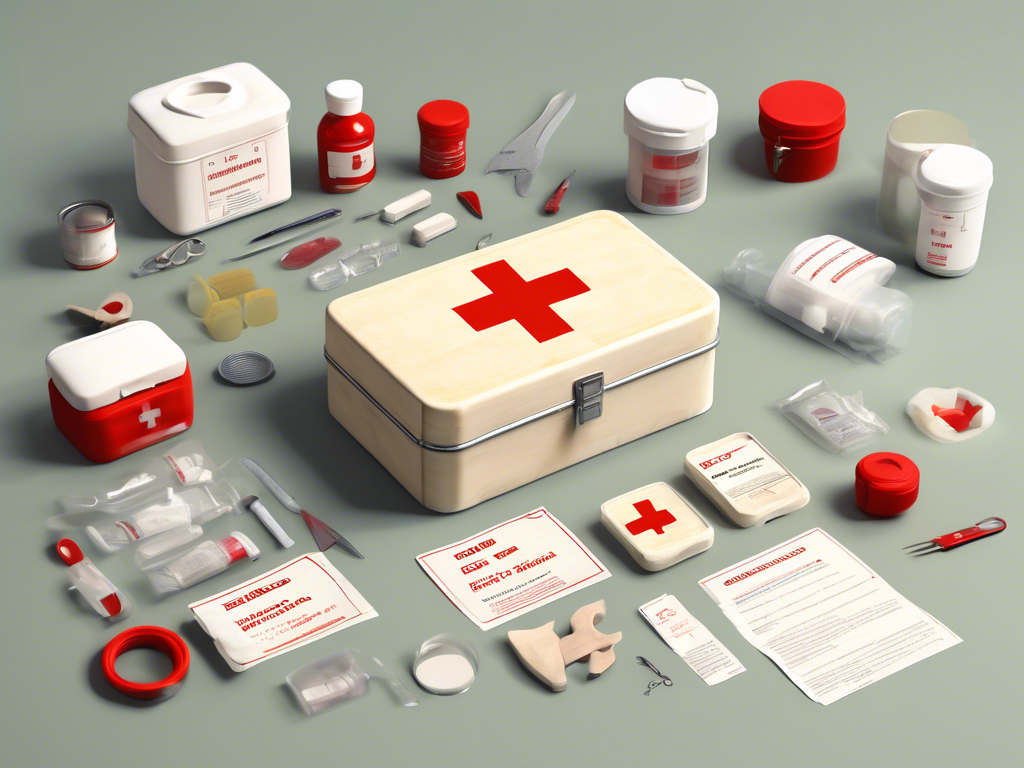
Gather Your Materials
Before you start assembling your homemade first aid box, gather all necessary materials. You will need:
– A suitable container (plastic, metal, or fabric) 🧳
– Basic medical supplies
– Medications
– A first aid instruction manual
– Additional items for specific needs
Having everything ready will streamline the process and ensure you don’t miss any important components.
Organizing Your Supplies in the DIY First Aid Kit Box
Start by organizing your supplies within your diy first aid kit box. Utilize small bags or containers inside for better categorization:
– First-aid bandages and dressings
– Medications and ointments
– Tools like scissors and tweezers ✂️
– Emergency contact information
Labeling each section can simplify use, especially in high-stress situations. This level of organization is crucial for quick access when time is of the essence. ⏱️
Include a First Aid Instruction Manual
Incorporate a first aid instruction manual in your diy first aid kit container. This resource should have clear steps for various scenarios like:
– Treating cuts and scrapes
– Managing allergic reactions
– Addressing burns and blisters
Having this manual on hand can provide peace of mind and guidance during emergencies, making sure that you or anyone else can respond appropriately.
Regularly Review and Update Your Homemade First Aid Box
To maintain your diy first aid box, establish a schedule for regular reviews—every 6 months is a good rule of thumb. During these checks, make sure to:
– Replace expired medications 💊
– Replenish used supplies
– Add any new items based on lifestyle changes
This practice ensures that your first aid kit remains effective and up-to-date for every family member’s needs.
Store Your First Aid Kit in an Accessible Location
Finally, place your diy first aid kit in a location that is easily accessible to everyone. Consider:
– Kitchen cupboard or drawer
– Bathroom cabinet
– Car glove compartment
Ensure that all family members know where the kit is located and how to use its contents. Accessibility can be vital in emergency situations, allowing for quick response times when it matters most. 🏠
By following these step-by-step instructions to assemble your diy first aid kit, you’ll create a well-equipped and organized resource that provides essential support for your family throughout 2024!
Customization Ideas for Your DIY First Aid Kit Box: Make It Yours!
Personalize with Labels and Colors
One of the easiest ways to customize your diy first aid kit box is by adding labels and using colors that resonate with you. Consider:
– Using bright label stickers for quick identification of contents 🌈
– Assigning color-coded sections based on types of supplies (e.g., red for medications, blue for bandages)
– Decorating the container with stickers or designs that reflect your personality
This personal touch not only makes the kit visually appealing but also enhances its functionality, allowing for faster access during emergencies.
Include Specialized Supplies for Your Lifestyle
Tailor your homemade first aid box to fit your specific needs by including specialized items. Think about:
– Sports-related items like athletic tape and ice packs for active families 🏃♂️
– Travel essentials such as insect repellent and anti-nausea medication for campers and travelers
– Child-friendly products like kid-safe adhesive bandages and soothing gels
By accommodating your lifestyle and activities, you ensure that your diy first aid kit container is well-suited for any situation that may arise.
Add a Personal Touch with Family Emergency Info
Including a section in your diy first aid kit box for family emergency information is a great way to enhance its usefulness. Consider adding:
– A list of emergency contacts for each family member ☎️
– Important medical histories or allergies for quicker assistance in emergencies
– Local emergency service numbers specific to your area
Having this information readily available can make a significant difference in critical situations.
Interactive Features: QR Codes and Apps
Incorporate technology into your diy first aid kit by adding interactive features. For instance, consider:
– Creating a QR code linked to an online first aid guide or video tutorials 📱
– Utilizing a first aid app on your phone that complements your kit’s contents
– Including a small notebook where users can jot down any specific experiences or notes related to first aid treatments
These additions can provide quick access to valuable information when a situation arises.
Seasonal Customizations: Adapt to Different Conditions
Your diy first aid kit doesn’t have to be static; it can evolve with the seasons. For example:
– In winter, add cold weather items like thermal blankets and extra hand warmers ❄️
– During allergy season, include an array of antihistamines and nasal sprays
– Summer camping trips might require sunburn relief creams and bug bite treatment
Adjusting your diy first aid kit box according to seasonal needs keeps you prepared year-round.
By implementing these customization ideas for your diy first aid kit, you create a personalized and effective resource tailored to handle any minor emergencies or injuries throughout 2024!
Top 10 Must-Have Supplies for Your DIY First Aid Kit in 2024
Essential Wound Care Items
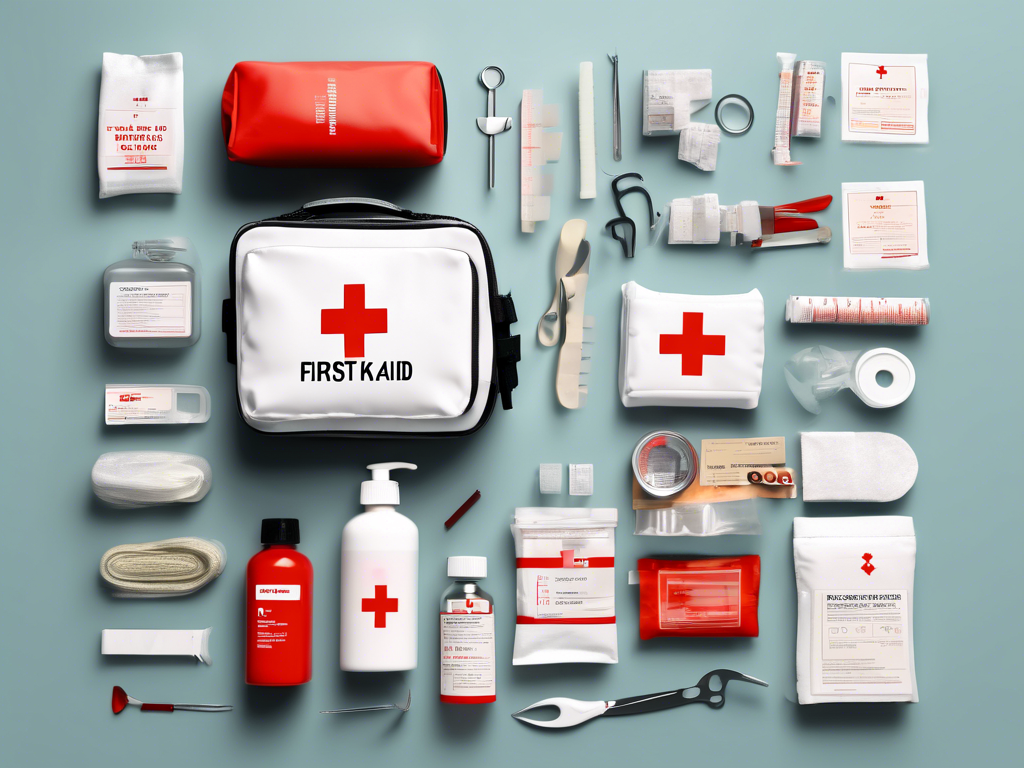
To properly address injuries, your diy first aid kit box must include critical wound care supplies. Some essentials are:
– Sterile adhesive bandages (various sizes) 🩹
– Non-stick sterile gauze pads
– Adhesive tape
– Antiseptic solution or wipes ✋
These items are fundamental for treating cuts and abrasions, ensuring that you can effectively manage minor wounds at home or on the go.
Medications for Common Ailments
Your diy first aid kit container should also be stocked with medications to alleviate common discomforts. Include:
– Pain relievers (ibuprofen or acetaminophen) 💊
– Antihistamines for allergy relief 🌼
– Anti-inflammatory cream
– Anti-nausea medication
Keeping these medications close at hand is invaluable for addressing sudden health issues as they arise.
Tools for Emergency Situations
Having the right tools can make a huge difference when handling emergencies. Ensure your homemade first aid box contains:
– Tweezers for removing splinters or ticks
– Scissors for cutting tape or gauze ✂️
– Safety pins for securing bandages
– Instant cold packs for sprains
These tools enhance your ability to respond promptly and effectively during accidents or injuries.
Burn Treatment Essentials
Burns can happen unexpectedly, so preparing your diy first aid kit with burn treatment supplies is crucial. Stock up on:
– Burn gel or cream
– Non-stick dressing for blisters
– Cold compresses for immediate cooling ❄️
By including these items, you can provide immediate relief from burns and minimize further damage to the skin.
Guidelines and Reference Materials
Maximize the effectiveness of your diy first aid kit box by adding reference materials. These should encompass:
– Basic first aid instruction manuals 📚
– Emergency contact numbers
– Quick reference cards for common procedures
Having such resources readily available ensures that anyone using your kit can respond appropriately during an emergency.
Storage and Accessibility Considerations
Finally, ensure your diy first aid kit container is stored in a visible and easily accessible spot. Remember to:
– Use a sturdy and waterproof container
– Regularly review contents for expiration dates
– Clearly label where the kit is stored
Accessibility is key in emergencies, allowing you or others to retrieve necessary supplies without delay. 🏠
By incorporating these top 10 must-have supplies into your diy first aid box, you’ll be well-prepared to handle various emergencies in 2024.
How to Maintain and Update Your DIY First Aid Kit Throughout the Year
Regularly Check Expiration Dates
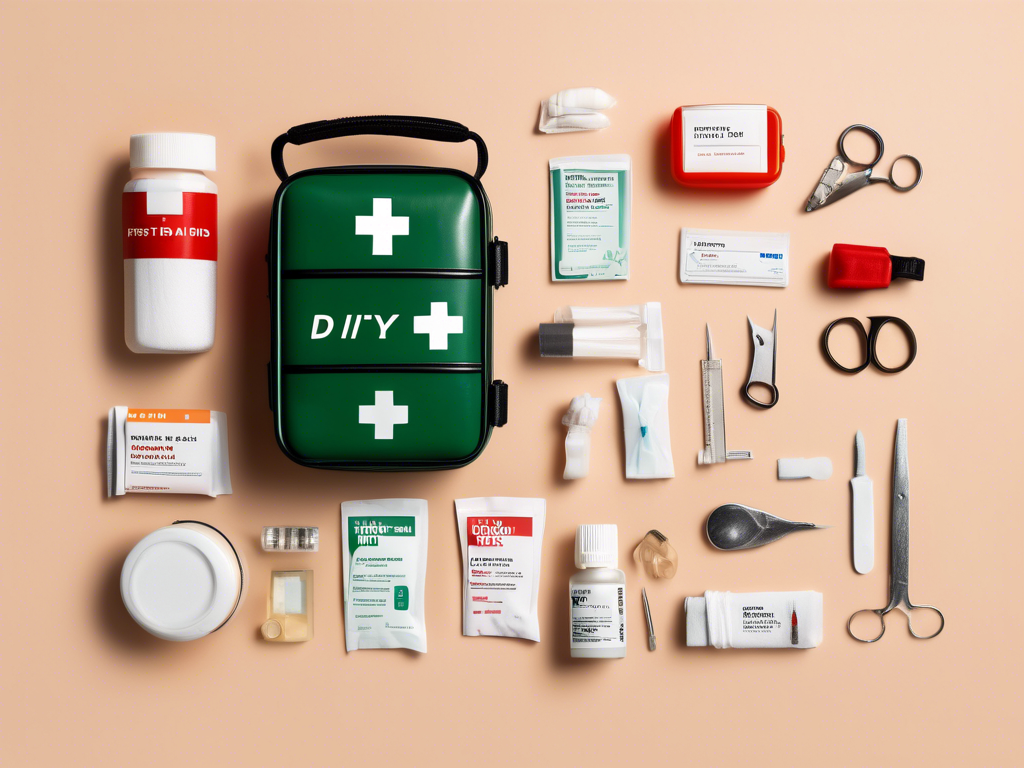
One of the most important aspects of maintaining your diy first aid kit is to regularly check the expiration dates of all medications and supplies. This should be done every three to six months. During this review, consider:
– Discarding any expired medications 💊
– Replacing supplies like adhesive bandages that may have been used
– Adding new essential items based on any changes in your household needs
Keeping track of expiration dates ensures your diy first aid box is always ready for action when you need it.
Restock After Use
It’s easy to forget about your homemade first aid box until an emergency arises. To avoid being underprepared, develop a habit of restocking your diy first aid kit container immediately after usage. Here’s how to do it:
– Keep a checklist of items used
– Replace them as soon as possible
– Consider keeping a small surplus of frequently-used items (like band-aids or antiseptics) for quick replacements
This proactive approach keeps your kit fully stocked and ready for future use. ⏱️
Adapt to Seasonal Needs
Your family’s needs might change with the seasons, so adapt your diy first aid kit box accordingly. For example:
– **Spring/Summer**: Include sunburn relief products, insect bite treatments, and allergy medications 🌼
– **Fall/Winter**: Add cold-weather essentials, such as extra blankets, hand warmers, and flu medications ❄️
By adjusting the contents of your diy first aid kit seasonally, you can ensure you’re prepared for various outdoor activities and weather conditions.
Incorporate Family Health Changes
As your family grows or members encounter new health issues, be sure to update your diy first aid kit container accordingly. Consider:
– Adding personal medications for chronic conditions or allergies
– Including tools for pediatric care if you have young children
– Removing items no longer applicable due to changes in lifestyle or age
This personalization of your homemade first aid box ensures that everyone’s needs are met effectively.
Educate Family Members Regularly
Maintaining your diy first aid kit also involves educating all family members about its contents and proper usage. Host a quarterly review where you:
– Go over what’s included in the kit 🧑⚕️
– Teach basic first aid skills using the instruction manual
– Discuss any new items added and their purposes
This practice empowers everyone to respond confidently during emergencies and reinforces the importance of the diy first aid kit.
By implementing these strategies to maintain and update your diy first aid kit box, you’ll ensure that it remains an effective resource for addressing minor emergencies throughout 2024!
The Benefits of Creating a Personalized DIY First Aid Box for Your Family
Customizing to Your Family’s Needs
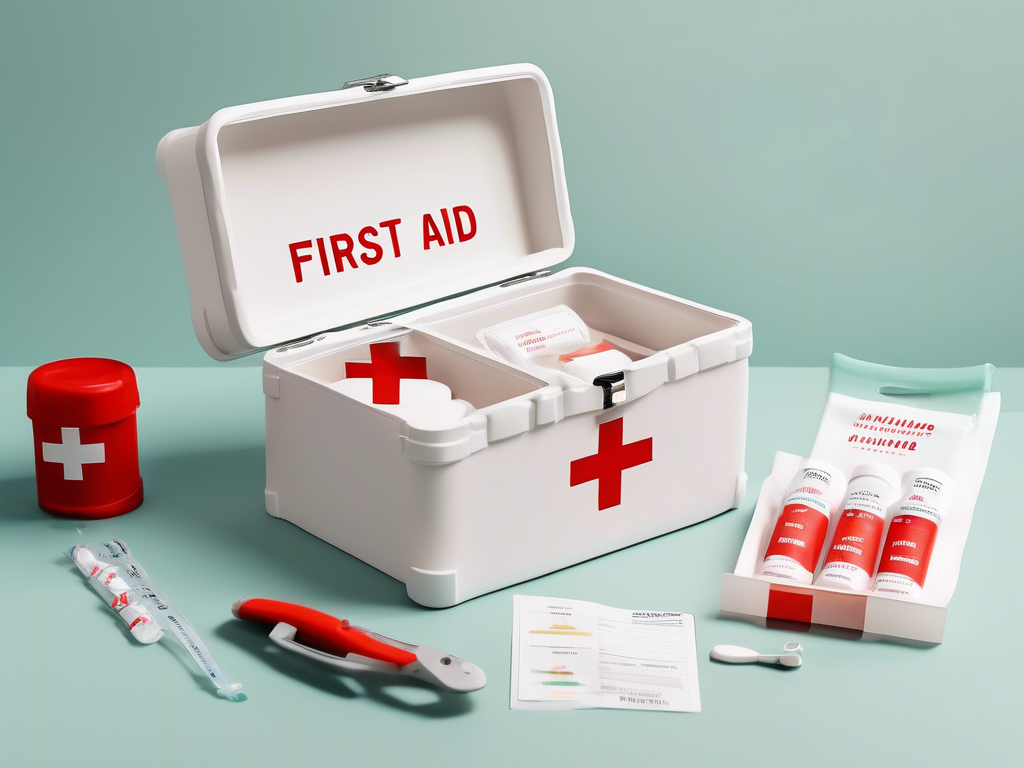
Creating a personalized diy first aid box allows you to customize its contents according to your family’s specific needs. Different family members may have varying health requirements, such as allergies or chronic conditions. By including tailored items, such as kid-friendly band-aids or medications for seasonal allergies, you can ensure that your homemade first aid box is effective and ready for any situation. 🎯
Cost-Effective Solutions
Another significant benefit of assembling a diy first aid kit container is cost savings. Purchasing supplies individually or in bulk usually proves more economical than buying pre-made kits. You can prioritize essential items that your family frequently uses, reducing waste and ensuring that you’re not paying for unnecessary extras typically included in commercially available options. 💰
Increased Awareness and Preparedness
Building your own diy first aid kit box fosters awareness about health and safety within your household. Involving family members in the assembly process encourages discussions regarding first aid practices and emergency responses. This proactive approach helps everyone feel more empowered and prepared to handle minor injuries, leading to quicker and more confident responses in emergencies. 🏃♀️🚑
Easy to Update and Maintain
A homemade first aid box is also easier to update and maintain than standard kits. Regularly reviewing and replenishing supplies tailored to your family’s needs ensures that your kit stays relevant. You can quickly replace expired items or add new products based on lifestyle changes, such as a new baby or a family member starting a sport. This adaptability keeps your first aid resources fresh and functional year-round. 🔄
Enhanced Organization and Accessibility
By creating a diy first aid kit, you can design it with organization in mind. You can use storage solutions like labeled compartments, color-coded sections, and handy tools to make accessing supplies easier during emergencies. A well-organized kit reduces stress and confusion when time is crucial, allowing for swift responses to injuries when they occur. 🗂️
Promoting Family Health Education
Last but not least, personalizing your diy first aid kit box can serve as an educational tool for your family. As you gather materials and discuss their purposes, you instill valuable health knowledge and first aid skills. This ongoing education empowers your loved ones to respond effectively in emergencies, promoting a culture of health and safety at home. 📚💡
By establishing a personalized diy first aid box for your family, you create a crucial resource that enhances preparedness, awareness, and overall health management throughout 2024!
DIY First Aid Kit Essentials: What Every Household Should Have
Basic Medical Supplies for Your DIY First Aid Box
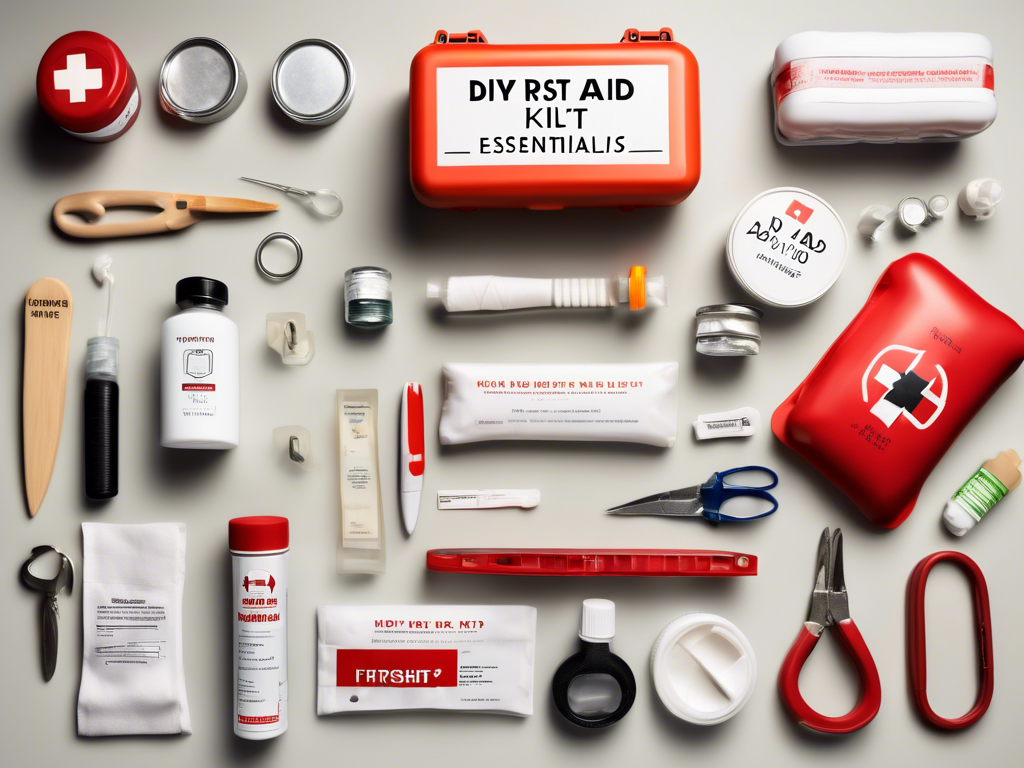
Every diy first aid box should start with fundamental medical supplies that can help address common injuries. Essential items to include are:
– Adhesive bandages in various sizes 🩹
– Sterile gauze pads and adhesive tape
– Antiseptic wipes or solutions ✋
– Tweezers and scissors ✂️
These items are necessary for effectively treating minor cuts, scrapes, and abrasions, ensuring you’re prepared for everyday mishaps.
Medications You Can’t Afford to Ignore
Next, your diy first aid kit container should be stocked with essential medications. Consider including:
– Pain relievers such as ibuprofen or acetaminophen 💊
– Antihistamines for allergic reactions 🌼
– Hydrocortisone cream for itching and rashes
– Personal prescription medications
Regularly check expiration dates on these medications to keep your homemade first aid box always ready for emergencies.
Emergency Response Tools
Having the right tools is vital when assembling your diy first aid kit box. Make sure you include items like:
– Tweezers for removing splinters or ticks
– Scissors for cutting gauze and tape ✂️
– Instant cold packs for sprains ❄️
– Safety pins for securing bandages
These emergency response tools enhance your ability to react quickly during incidents, providing peace of mind for your family.
First Aid Instruction Manual
Incorporate a first aid instruction manual into your diy first aid kit. This manual should cover critical steps for various scenarios, such as:
– Treating wounds and managing bleeding
– Responding to allergic reactions
– Addressing burns and blisters
Having a comprehensive guide available adds a layer of confidence in handling emergencies effectively. 📚
Customizing for Specific Family Needs
Consider tailoring your diy first aid kit container to fit specific health needs within your family. Items to think about include:
– Child-friendly products like band-aids featuring fun designs
– Travel essentials, such as insect repellent or anti-nausea pills for outdoor activities 🏕️
– Sports-related items like athletic tape and cooling gel for active family members
By customizing your diy first aid kit box, you ensure it meets everyone’s needs, making it a truly invaluable resource.
Storage and Maintenance Tips
Once your homemade first aid box is packed, proper storage and maintenance become critical. Choose a waterproof bag or a sturdy plastic container for optimal protection. Regularly review its contents every few months, replacing expired items and restocking supplies as needed. It’s also advisable to keep your first aid kit in an easily accessible location so that all family members know where to find it. 🏠
By incorporating these essentials into your diy first aid kit, you’ll be well-prepared to handle minor emergencies and injuries throughout 2024!
Tips for Organizing Your DIY First Aid Kit Container Efficiently
Utilize Small Containers for Item Categorization
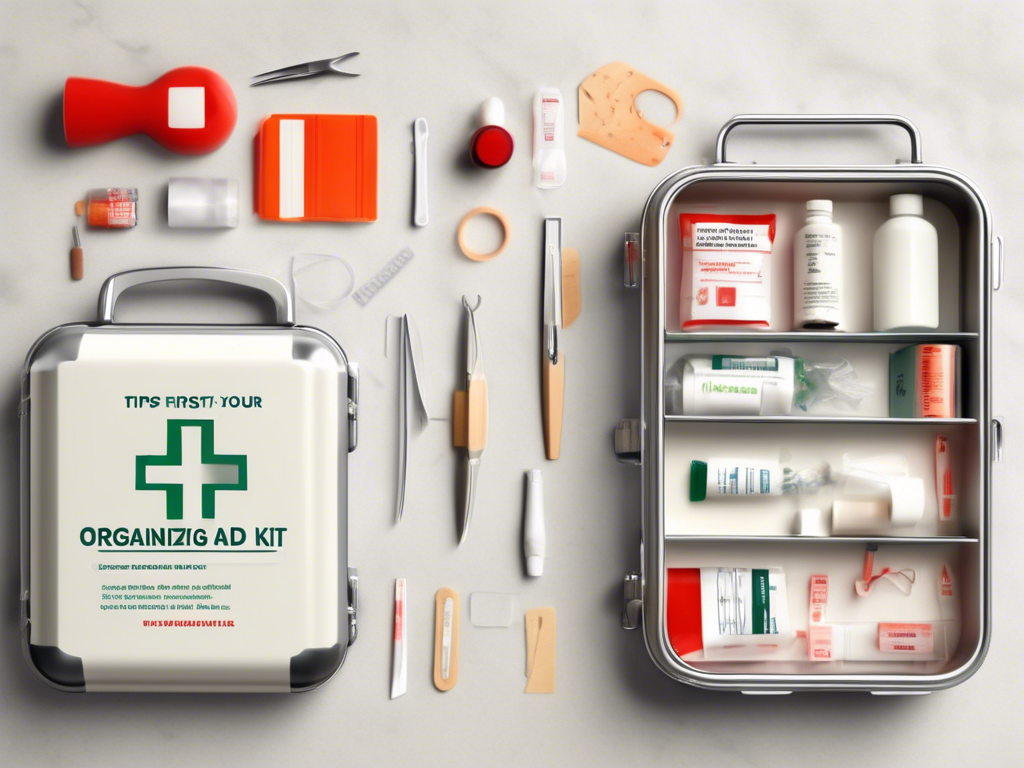
To make your diy first aid kit container more efficient, consider using small containers or bags to categorize items. This can include:
– **First-aid supplies**: Bandages and gauze pads
– **Medications**: Pain relievers and allergy treatments 💊
– **Tools**: Scissors and tweezers ✂️
By organizing items into sections, you can quickly locate what you need during an emergency, minimizing stress in high-pressure situations.
Label Everything for Quick Access
Labeling the contents of your diy first aid kit box can save precious time when you need supplies urgently. Use clear, visible labels to identify:
– Each section’s purpose (e.g., “Wound Care,” “Medications”)
– Expiration dates for medications you store
– Instructions for using specific tools
This organization method allows everyone in the household to easily understand the kit’s layout and access items quickly when needed. 📑
Prioritize Accessibility of Frequently Used Items
When assembling your homemade first aid box, place frequently used items in the most accessible locations. For instance, keep:
– Adhesive bandages at the very top or front
– Pain relievers in a designated spot that’s easy to reach
By prioritizing accessibility, you ensure that essential supplies can be grabbed swiftly without rummaging through the entire kit. ⚡
Regularly Review and Reinvent Your Organization System
As family needs change, periodically reassess how items are organized in your diy first aid kit container. Consider the following:
– Remove outdated items or supplies no longer needed
– Add new products based on current health concerns or activities
– Rearrange items if certain supplies become more frequently used
This practice keeps your diy first aid kit box relevant and ensures you remain prepared for any situation. 🔄
Consider a Visual Inventory List
Incorporate a visual inventory list inside your diy first aid kit to help track contents easily. This can include:
– Pictures of items alongside their names
– A checklist to tick off items after use
Having a visual inventory system can make restocking supplies simpler and keeps everyone aware of what’s available when emergencies arise. 📋
By implementing these tips for organizing your diy first aid kit container efficiently, you’ll create a resource that’s both functional and easy to navigate, helping you respond effectively in emergencies throughout 2024!
Summing up
In conclusion, building your own DIY first aid kit is not just a smart move—it’s a vital step towards ensuring your family’s safety. From identifying the top 10 must-have supplies to understanding how to maintain and update your kit throughout the year, we’ve covered the essential elements you need to create a fully functional and personalized homemade first aid box.
Moreover, the selection of the right DIY first aid kit container plays a crucial role in how efficiently you can access supplies when you need them the most. By organizing your kit effectively, you enhance its usability, ensuring that it is ready for any situation. Remember, first aid preparedness is not just about having supplies; it’s about having the right supplies at your fingertips.
Ultimately, taking the time to create and customize your DIY first aid box fosters a sense of security and preparedness for your loved ones. As we step into 2024, challenge yourself to prioritize safety by assembling and properly maintaining your DIY first aid kit box. In doing so, you equip your household with the confidence to handle life’s little emergencies with ease. So, gather your supplies, get creative, and make a commitment to safety this year. Your family will thank you for it!
