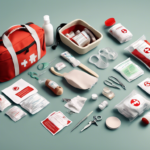

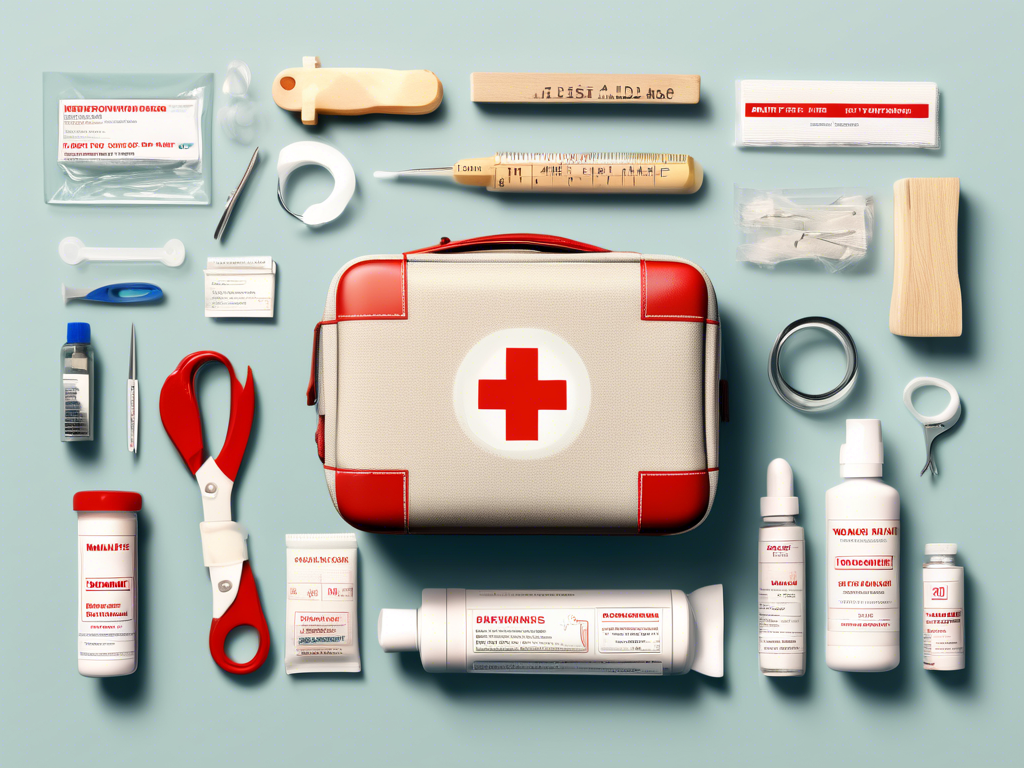
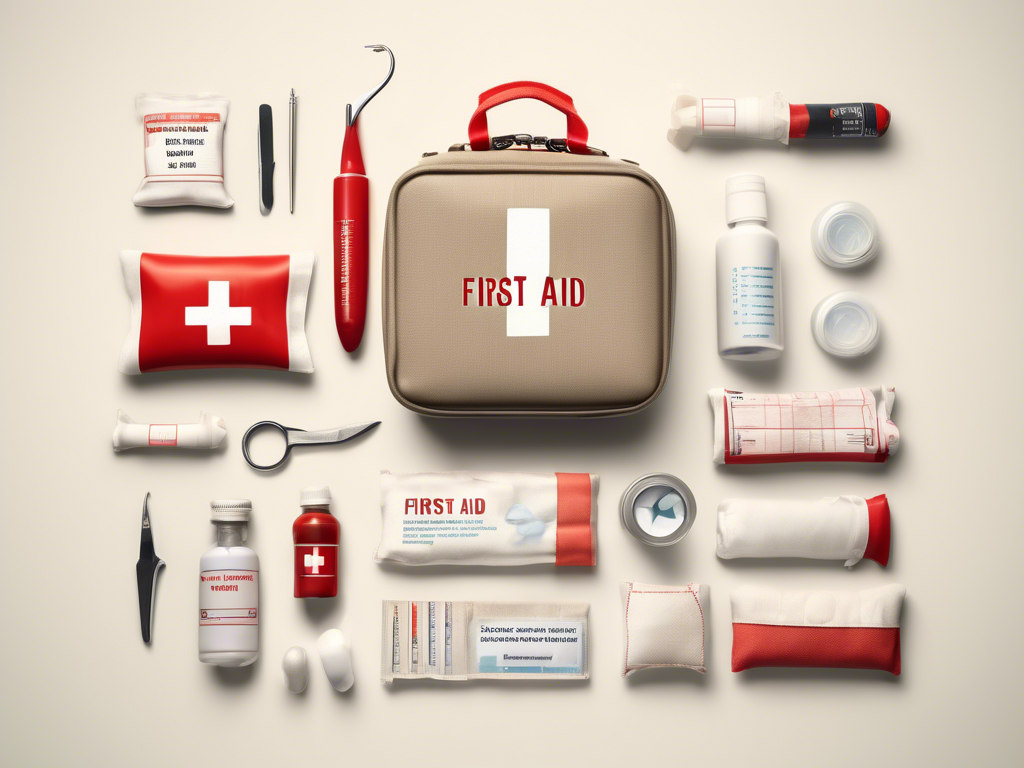
When emergencies strike, having a well-stocked DIY medical kit on hand can mean the difference between panic and preparedness. Whether it’s a minor cut, a bee sting, or a more serious situation, knowing how to make a first aid kit tailored to your specific needs is essential for every household. With a little effort, you can create a homemade first aid kit that empowers you to handle unexpected health issues efficiently.
The importance of equipping ourselves with the proper first aid essentials cannot be understated. Accidents happen, and being prepared ensures that you are ready to respond effectively. In this article, we will explore the key components of a complete do it yourself kit, offering a detailed step-by-step guide on making a first aid kit at home. By customizing your supplies, you can tailor your kit to reflect your family’s unique needs—ensuring that you have everything necessary at your fingertips when crisis strikes.
From identifying the essential items to organizational best practices, this guide will provide you with all the information you need to create a comprehensive and accessible medical kit. Let’s dive into the world of first aid, starting with the vital components that should be included in your kit.
Essential Items for Your DIY Medical Kit: What You Need to Include
Basic Supplies to Get Started
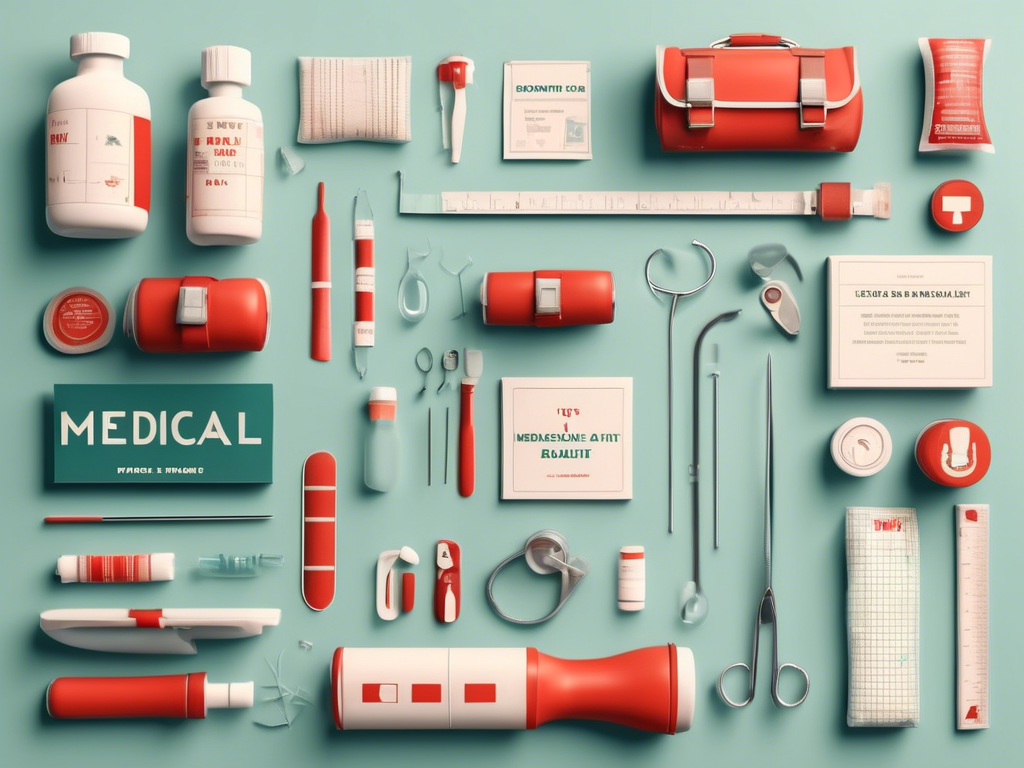
When it comes to making a first aid kit, you’ll want to start with the basics. Consider including the following essential items in your DIY medical kit:
– Adhesive bandages of various sizes
– Sterile gauze pads and adhesive tape
– Antiseptic wipes or solution
– Hydrocortisone cream
– A pair of scissors
– Tweezers
These items are foundational for treating minor injuries, helping you handle various situations effectively! 🩹
Medications and Ointments
Next, ensure your homemade first aid kit contains necessary medications. If applicable, include:
– Pain relievers (like ibuprofen or acetaminophen)
– Aspirin (be cautious with children)
– Antihistamines for allergic reactions
– Burn ointment
Remember to check expiration dates regularly and replenish any used items. These medications can be vital in managing pain or unexpected allergic reactions! 💊
Special Considerations for Children and Pets
If you have children or pets, it’s crucial to customize your do it yourself kit appropriately. For kids, consider adding:
– Child-safe pain relievers
– A thermometer
– Pediatric antiseptic wipes
For pets, packs could include:
– Non-stick bandages
– Pet-safe antiseptic
– A copy of your veterinarian’s contact information
This customization ensures you’re prepared for all family members, human or furry! 🐾
Tools for Effective Treatment
Your how to make first aid kit should also have tools that can assist in more serious situations:
– A digital thermometer
– A first-aid manual or instruction booklet
– Disposable gloves to maintain hygiene
Equipping your kit with these tools enables you to take quick and informed actions during emergencies! 📚
Storage and Maintenance Tips
Lastly, it’s not just about items, but also about how you organize them. Here are some tips for maintaining your DIY medical kit:
– Use a sturdy, waterproof container
– Clearly label sections for easy access
– Review and restock supplies every six months
By regularly checking and organizing your kit, you ensure it’s always ready when you need it most! 🚑
Step-by-Step Guide: How to Make a First Aid Kit at Home
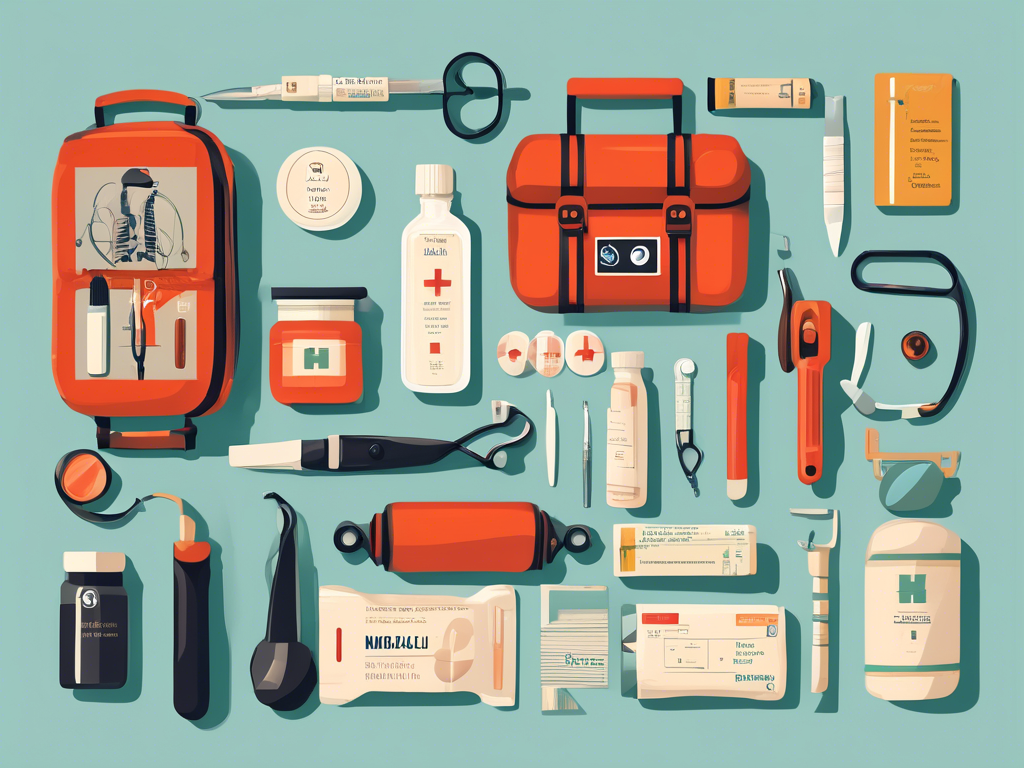
Choosing the Right Container
The first step in making a first aid kit is selecting an appropriate container. You’ll want something durable and easy to access. Options include:
– A plastic tote or toolbox
– A soft-sided pouch or backpack
– A fishing tackle box
Ensure that your chosen container is waterproof and portable, allowing you to take your do it yourself kit wherever you go! 🧳
Gathering Your Supplies
Once you have your container, it’s time to start filling it! Reference the essential items listed earlier and begin gathering supplies. Consider creating a checklist to ensure you don’t miss anything important. Here’s a quick list to help you get started:
– Bandages and gauze
– Antiseptic and ointments
– Pain relievers and medications
– Tools like scissors and tweezers
Having everything on hand will streamline the process of creating your homemade first aid kit. 🛠️
Organizing Your Kit
After collecting your supplies, organization is key. Allocate sections in your container for different categories such as:
– Wound care
– Medications
– Equipment (like thermometers)
Use small zip-lock bags or dividers to keep similar items together. This way, you’ll always have quick access to what you need in emergencies! 📦
Labeling and Instructions
To enhance the usability of your DIY medical kit, label everything clearly. Not only should you label the sections, but consider including a simple instruction manual within the kit. This can contain basic first aid guidance, such as how to handle cuts, burns, or allergic reactions. A well-documented manual increases confidence in using the kit effectively! 📖
Regular Check-ups and Replenishing Supplies
Finally, once your how to make first aid kit is complete, set a schedule for regular check-ups. Every six months, review the contents and replenish any expired or used items. This maintenance ensures your homemade first aid kit is always ready for action when you need it most! 🔄
Homemade First Aid Kit: Tips for Customizing Your Supplies
Assess Your Unique Needs
When it comes to creating a homemade first aid kit, the first step is to assess your specific requirements based on your lifestyle. Consider factors such as:
– Activities you participate in (e.g., hiking, sports)
– The age and health of household members
– Any existing medical conditions
Understanding these elements will help you tailor your do it yourself kit to be as effective as possible! 🏞️
Personalize with Medical History
In addition to activity levels, it’s wise to personalize your DIY medical kit with relevant medical history. Include items like:
– Prescribed medications
– Allergy information cards
– Medical alerts for serious conditions
Having this information readily available can be crucial in emergencies where time is of the essence. Consider using a waterproof pouch for documents to keep everything safe! 👨⚕️
Include Comfort Items
While your how to make first aid kit should focus on essential medical supplies, don’t forget about comfort items! Adding small comforts can help soothe anxiety during stressful situations. Consider including:
– A soft cloth or small blanket
– A stress ball or fidget toy
– Calming essential oils
These additions can provide emotional support and make a difference during emergencies! 🌼
Custom Kits for Specific Situations
If you foresee needing your making a first aid kit for particular situations, consider creating custom kits. For example:
– A travel kit for road trips or flights
– A sports kit for outdoor activities
– A camping kit tailored to wilderness needs
By having dedicated kits for different scenarios, you ensure you’re always prepared, no matter where life takes you! 🌍
Engage Your Family in the Process
Getting your family involved in customizing your DIY medical kit can be both fun and educational. Here are some ways to engage:
– Have family discussions about what to include
– Organize a DIY kit assembly night
– Teach kids basic first-aid skills
This not only helps everyone understand how to use the kit but also fosters a sense of responsibility and readiness! 👨👩👧👦
Regularly Update Your Supplies
Lastly, remember that customization doesn’t end after your initial assembly! Set reminders to review and update your homemade first aid kit regularly. Make sure to check for:
– Expired items
– New family members or changes in health status
– Recent injuries or common ailments experienced
Maintaining your kit ensures it remains a reliable resource in times of need! 🔄
Do It Yourself Kit: Crafting a Comprehensive First Aid Kit
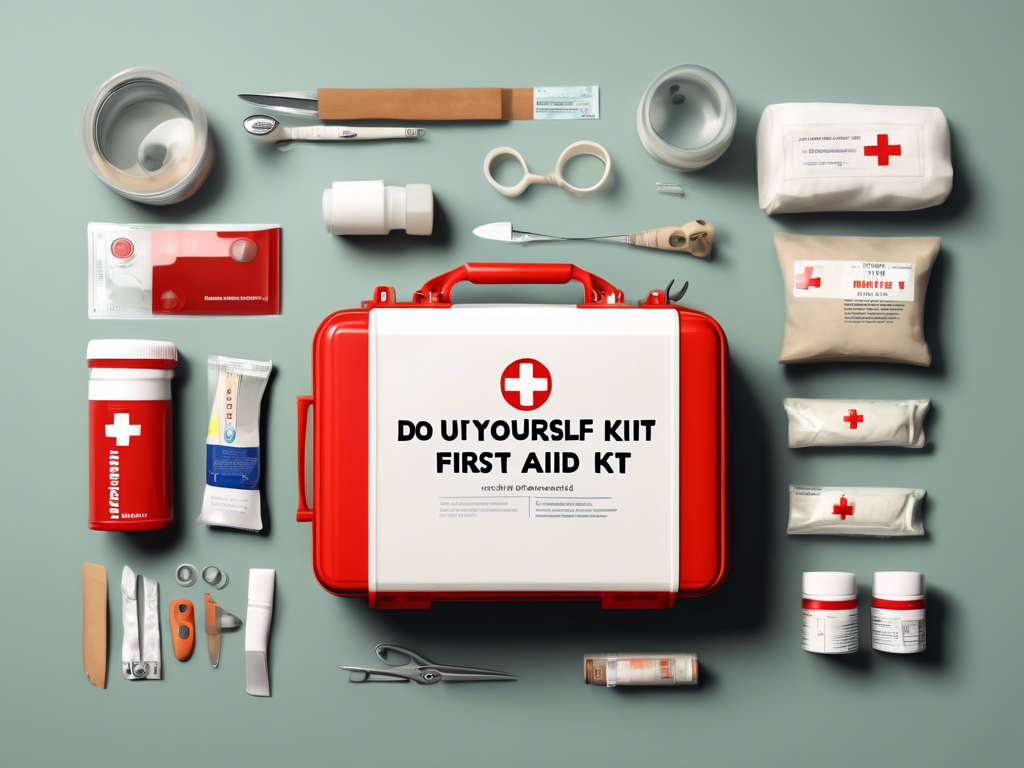
Understanding the Importance of a DIY Medical Kit
Creating a do it yourself kit is not just about gathering supplies; it’s about ensuring safety and preparedness for you and your loved ones. A well-crafted DIY medical kit can be a lifesaver in emergencies, offering peace of mind during activities like hiking, camping, or even just at home. By personalizing your kit based on your unique needs, you’ll have everything essential for treating injuries promptly and effectively. 🌟
Choosing the Right Materials for Your Kit
When making a first aid kit, selecting quality materials is crucial. Opt for durable, waterproof containers to protect your supplies from the elements. Think about including materials such as:
– Hard plastic cases for sturdiness
– Soft pouches for portability
– Zip-lock bags for organization
With the right materials, your homemade first aid kit will be accessible, easy to carry, and ready for action when needed! 🧳
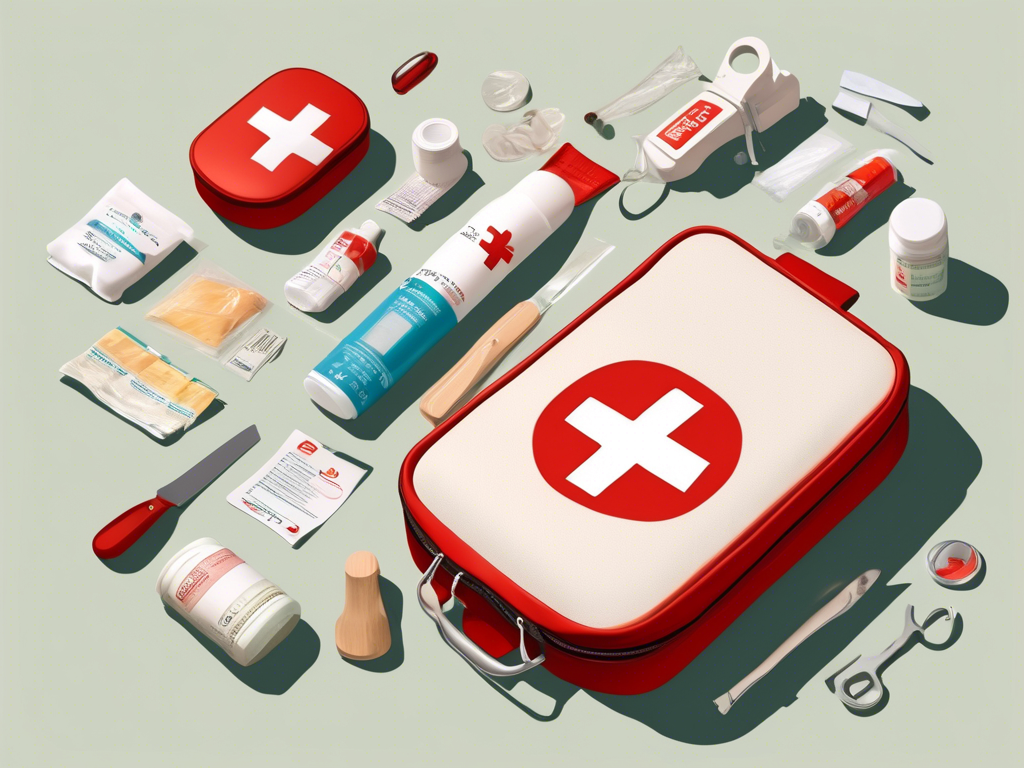
Essential Supplies to Include in Your Kit
A successful making a first aid kit relies on having the right assortment of supplies. Here’s a quick checklist of must-have items:
– Adhesive bandages (various sizes)
– Sterile gauze and adhesive tape
– Antiseptic wipes or spray
– Pain relievers (ibuprofen or acetaminophen)
– Tweezers and scissors
These essentials enable you to handle a variety of common injuries, making your DIY medical kit more versatile! 🩹
Customizing for Specific Needs
It’s important to personalize your do it yourself kit to address specific requirements. Consider factors such as:
– Family members’ ages and health conditions
– Activities you engage in regularly (like sports or travel)
– Any known allergies among your family
By tailoring your homemade first aid kit to these factors, you’ll ensure optimal preparedness for any situation! 🏞️
Regular Maintenance: Keeping Your Kit Up-to-date
Building your how to make first aid kit is just the beginning; maintaining it is key! Set a schedule to:
– Review contents every six months
– Replace expired medications
– Restock used items
Regular maintenance keeps your kit reliable and ensures that you’re always prepared when emergencies arise! 🔄
Making a First Aid Kit: Common Mistakes and How to Avoid Them
Neglecting the Basics
One of the primary mistakes in making a first aid kit is overlooking essential items. Many people focus too much on specialized supplies and forget the basics. Ensure your DIY medical kit includes fundamental items such as:
– Adhesive bandages in various sizes
– Sterile gauze pads
– Antiseptic wipes
– Scissors and tweezers
By starting with these essentials, you lay a solid foundation for handling minor injuries effectively! 🩹
Failing to Customize Your Kit
Another common pitfall is not personalizing your homemade first aid kit. A one-size-fits-all approach won’t suit everyone’s needs. Take time to assess:
– The ages and health conditions of family members
– Specific activities you frequently engage in (like hiking or sports)
– Any known allergies within your family
Customizing your do it yourself kit ensures that it’s equipped to address unique situations and injuries that may arise! 🌟
Ignoring Expiration Dates
A crucial mistake many make is neglecting to check expiration dates of medications and supplies. Regularly reviewing your how to make first aid kit ensures that everything is current. Here are some tips to avoid this mistake:
– Schedule regular check-ups every six months
– Create a checklist of items with expiration dates
– Replace any expired medications immediately
Maintaining fresh supplies means you’ll be ready when emergencies strike! 🔄
Overpacking Your Kit
While it’s important to be thorough, overpacking can lead to disorganization, making it difficult to find what you need quickly. An overcrowded DIY medical kit can hinder your ability to respond effectively in an emergency. To avoid this:
– Stick to a curated list of essentials
– Use zip-lock bags or dividers to separate categories
– Regularly evaluate the contents and remove unnecessary items
Keeping your kit streamlined ensures quick access to critical supplies when it matters most! 📦
Not Including Clear Instructions
Lastly, many skip the step of including clear first-aid instructions within their making a first aid kit. This oversight can be detrimental in high-stress situations where every second counts. To remedy this:
– Write or print basic first-aid guidelines
– Include information on how to treat common injuries like cuts or burns
– Make this instruction manual easily accessible within your kit
Having these instructions at hand enhances confidence and effectiveness during emergencies! 📖
DIY Medical Kit Organization: Best Practices for Easy Access
Use Clear Containers for Visibility
One of the best practices in organizing your DIY medical kit is to use clear containers. Transparent bins or zip-lock bags allow you to see contents at a glance, making it easier to find what you need quickly during an emergency. Consider categorizing items by type, such as:
– Wound care supplies (bandages, gauze)
– Medications (pain relievers, ointments)
– Tools (scissors, tweezers)
Using clear containers not only enhances visibility but also keeps everything neatly organized! 🧼
Establish a System for Labeling
Labeling is a crucial step in making a first aid kit. Clearly mark containers or sections with their contents to facilitate quick access. You can use color-coded labels for different categories, such as:
– Green for medications
– Blue for wound care
– Red for emergency tools
With a well-labeled kit, even those unfamiliar with it can find supplies easily when every second counts! 🏷️
Prioritize Frequently Used Items
When assembling your homemade first aid kit, prioritize placing frequently used items at the top or in an easily accessible section. Commonly used supplies might include:
– Adhesive bandages
– Antiseptic wipes
– Pain relief medicine
This eliminates the need to rummage through less critical items, reducing stress and improving effectiveness during emergencies! ⏱️
Implement an Inventory System
Maintaining an inventory system will streamline the organization of your do it yourself kit. Create a checklist of all items in your kit to track what you have and what needs replenishing. Regular checks can prevent running out of critical supplies. Some tips include:
– Keeping a digital or physical list
– Updating it whenever you add or remove supplies
– Scheduling reminder alerts for regular reviews
An effective inventory system ensures that your kit is always stocked and ready for action! 📋
House Your Kit in a Designated Spot
Designate a specific location for your DIY medical kit that is easily accessible to everyone in your household. Whether this is a shelf in a closet, a designated drawer, or a specific backpack for outdoor activities, having a consistent storage place reinforces readiness. Ensure the location is:
– Out of reach for small children
– Easily retrievable in emergencies
– Clearly marked if necessary
This practice promotes familiarity and confidence in using your kit during critical moments! 🚪
Regularly Conduct Drills and Reviews
Lastly, regularly conducting drills and reviews of your how to make first aid kit can enhance preparedness. Gather family members and practice scenarios where they must use the kit effectively. During these sessions, review:
– The contents of the kit
– How to locate necessary items quickly
– Basic first aid procedures and instructions
Practicing ensures that everyone is comfortable with the kit, so you can respond calmly and confidently when emergencies arise! 👨👩👦👦
Emergency Preparedness: The Importance of a Homemade First Aid Kit

Understanding the Need for a First Aid Kit
Having a homemade first aid kit is a crucial component of emergency preparedness. Emergencies can happen at any time, whether you are at home, out hiking, or traveling. A well-stocked DIY medical kit empowers you to handle minor injuries and emergencies that may arise unexpectedly. This level of preparedness provides peace of mind and ensures that you and your loved ones are ready when it counts the most! 🌟
Essential Components for Your Kit
To successfully assemble your do it yourself kit, consider including the following essential components:
– **Adhesive bandages** in various sizes
– **Sterile gauze pads** and **adhesive tape**
– **Antiseptic wipes** or solutions for cleaning wounds
– **Pain relievers** (including options for children)
– **A digital thermometer** to monitor temperature
These items form the backbone of your how to make first aid kit, covering everyday injuries and ailments effectively! 🩹
Customization Based on Lifestyle
Every individual has unique needs based on their lifestyle, making customization of your homemade first aid kit vital. Assess your activities—whether it’s sports, hiking, or caring for small children—and tailor your kit accordingly. For example:
– If you hike frequently, include blister treatment and snake bite kits.
– For families with young kids, add child-safe medications and comfort items like a soft toy.
This thoughtful approach ensures that your making a first aid kit is perfectly suited to the specific risks you face daily! 🏞️
Regular Maintenance: Check and Replenish
Creating your DIY medical kit is just the beginning; maintaining it is equally important. Make it a habit to:
– **Review** your kit every six months
– **Check expiration dates** on medications and supplies
– **Replace** any used or expired items promptly
This practice guarantees that your kit remains reliable and effective, ready for action whenever an emergency arises! 🔄
Educating Your Family
Involving your family in understanding how to use the homemade first aid kit can be incredibly beneficial. Teach them basic first-aid skills and explain the purpose of each item. Consider regular training sessions where you:
– Go through the kit together
– Practice treating common injuries (like cuts and scrapes)
– Discuss what to do in various emergency scenarios
By educating your loved ones, you foster a collective sense of preparedness, ensuring everyone is on the same page during critical moments! 👨👩👧👦
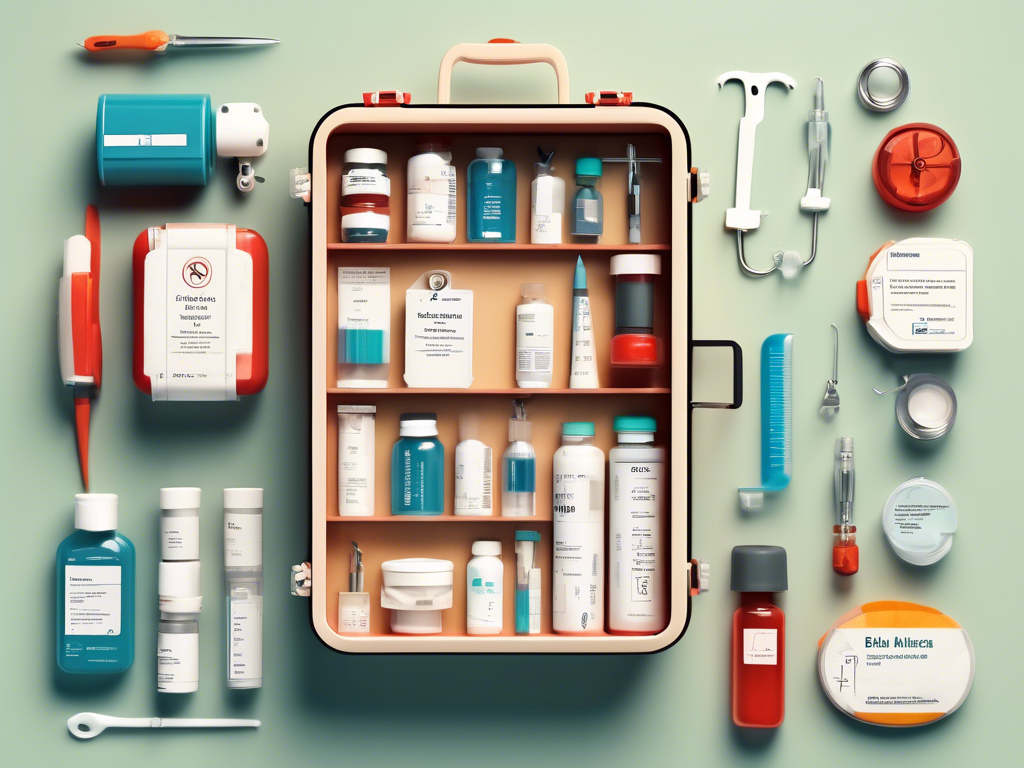
How to Choose the Right Container for Your DIY Medical Kit
Selecting the Ideal Size
When it comes to making a first aid kit, the size of your container is crucial. You want a container that can comfortably fit all your essential supplies while still being portable. Consider the following options:
– **Small hard plastic cases** for travel or car kits
– **Medium-sized backpacks** for family outings
– **Large storage bins** for home use
Choosing the right size ensures that you have ample space for everything you need without overpacking! 🧳
Durability Matters
Another significant factor in selecting a container is its durability. A resilient container will protect your supplies from damage due to drops, spills, or environmental conditions. Look for containers that are:
– **Waterproof** to safeguard against moisture
– **Sturdy** to withstand rough handling
– **Easy to clean** in case of spills
A durable container not only keeps your supplies safe but also ensures they remain effective when you need them! 🔒
Accessibility Features
Convenience is key when using your DIY medical kit. Opt for a container with features that enhance accessibility, such as:
– **Zippered pockets** or dividers for organization
– **Clear compartments** for quick visibility of contents
– **Carrying handles** or straps for easy transport
These features make it easier to find what you’re looking for in emergencies, ensuring you’re prepared when every second counts! ⏱️
Consider Specific Use Cases
Think about how and where you’ll be using your do it yourself kit before making a choice. Different scenarios may require different types of containers:
– **Camping trips:** A soft-sided cooler or pack for portability
– **Home use:** A hard-shell toolbox for durability
– **Travel:** A compact pouch that fits easily in luggage
By choosing a container tailored to your specific needs, you enhance the effectiveness of your homemade first aid kit in various situations! 🏕️
Budget-Friendly Options
You don’t have to break the bank when selecting a container for your how to make first aid kit. There are plenty of affordable options available, such as:
– **Repurposed containers** like old toolboxes or cosmetics bags
– **Inexpensive plastic bins** available at local stores
– **DIY solutions**, such as crafting a bag from durable fabric
Being budget-conscious while still selecting a functional container allows you to invest more in the actual supplies within your kit! 💰
First Aid Essentials: Creating Your Personalized Do It Yourself Kit
Identifying Your Unique Needs
When it comes to creating your DIY medical kit, the first step is to identify your family’s specific needs. Consider factors such as:
– The age and health of family members
– Activities you frequently engage in (like hiking, sports, or traveling)
– Any known allergies or chronic conditions
By evaluating these aspects, you can ensure your do it yourself kit is tailored to effectively address potential injuries and medical emergencies! 🏞️
Essential Supplies to Include
Building a robust homemade first aid kit starts with gathering essential supplies. Here’s a quick list to consider:
– Adhesive bandages of various sizes
– Antiseptic wipes and ointments
– Sterile gauze and adhesive tape
– Pain relievers (like ibuprofen or acetaminophen)
– Scissors and tweezers
These items form the backbone of your how to make first aid kit, providing effective solutions for various minor injuries! 🩹
Customization for Specific Activities
Depending on your lifestyle, you may want to customize your making a first aid kit. For example:
– **Hikers** might need blister treatments and snake bite kits
– **Parents** should include child-safe medications and comfort items
– **Travelers** could benefit from motion sickness tablets and insect repellent
This thoughtful customization ensures that your DIY medical kit addresses the specific risks of your daily activities! 🌍
Organizing and Storing Your Kit
An organized do it yourself kit is crucial for quick access during emergencies. Follow these tips:
– Use clear containers or zip-lock bags for visibility
– Label sections clearly for easy identification
– Keep frequently used items at the top for quick access
A well-organized kit not only saves time but also enhances your confidence in handling emergency situations! 📦
Regular Maintenance and Restocking
Finally, remember that creating your homemade first aid kit is not a one-time task. Schedule regular check-ups every six months to:
– Review expiration dates on medications and supplies
– Replace any used or expired items
– Assess if additional items are needed based on changing activities
Regular maintenance keeps your kit reliable and ensures you’re prepared for any situation when it arises! 🔄
Summing up
Creating your own DIY medical kit is not just a practical endeavor; it’s a step towards fostering resilience and safety in your home. Throughout this article, we examined the essential items needed, a clear step-by-step guide for assembling your kit, and tips for customization to ensure your kit meets your family’s needs. We also addressed common pitfalls to avoid and emphasized the significance of organization for easy access during emergencies.
The landscape of first aid preparedness is evolving, and individual responsibility has never been more critical. By taking the time to learn how to make a first aid kit, you’re not only protecting your loved ones but also empowering yourself with the knowledge and resources to act decisively in times of need. In addition, as emergencies can occur anywhere—from home to travel—having a portable version of your homemade first aid kit can ensure you’re never caught off guard.
In conclusion, I urge you to take action now. Gather the materials, organize your supplies, and craft a first aid kit that reflects your lifestyle. The investment in your safety today could be invaluable tomorrow. Don’t wait for an emergency to highlight the necessity of preparedness—embrace the responsibility of ensuring your family is ready for anything!