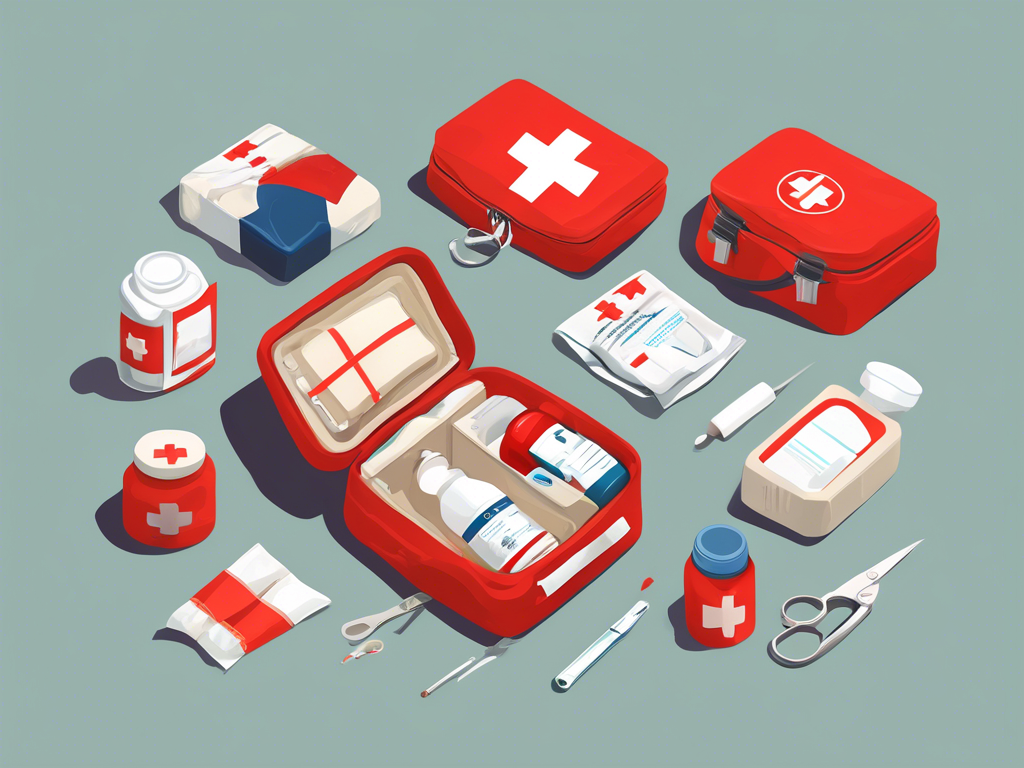
Have you ever found yourself in need of a quick drawing tutorial that not only boosts your creativity but also produces something practical? If so, then mastering the art of drawing a first aid kit is an excellent starting point. Not only does it allow you to unleash your artistic side, but it also serves as a fun way to learn about a crucial element of safety and health.
Drawing a first aid kit can seem intimidating at first, especially if you consider the various components involved—band-aids, antiseptic wipes, and ointments. However, with the right guidance and techniques, you will discover that creating an easy drawing of this essential item is much simpler than you might think. Whether you’re just starting out or looking to refine your skills, this step-by-step guide will provide you with everything you need to turn a blank page into a vibrant illustration filled with life and detail.
In this article, we will explore the process of drawing a first aid kit from start to finish, covering essential supplies, step-by-step instructions, key tips for beginners, and common mistakes to avoid. By the end, you’ll not only be able to create your own stunning illustration but also understand the proportions and details that make your artwork stand out. Get ready to dive into a world of creativity where art and health converge!
Unlock Your Creativity: How to Draw a First Aid Kit with Ease
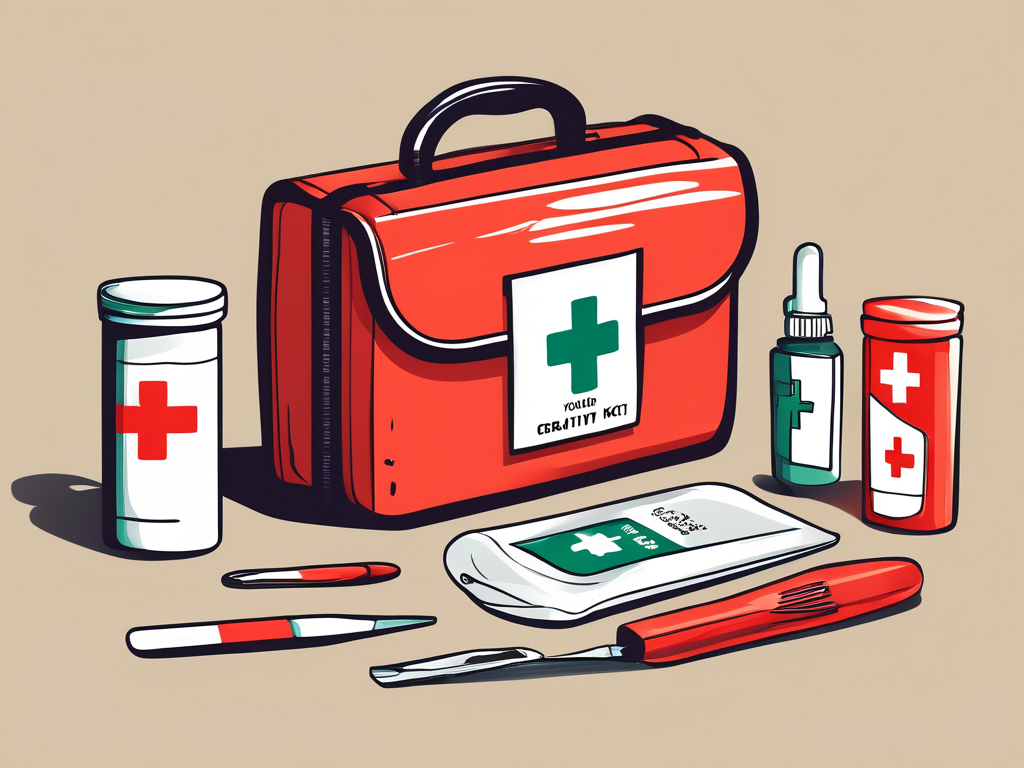
Gather Your Drawing Materials ✏️
Before diving into the fun process of drawing a first aid kit, it’s essential to gather all your materials. You will need:
- Pencil
- Eraser
- Fine-tipped markers or pens
- Colored pencils or markers
- Paper (preferably thicker for better coloring)
Having these supplies ready will help you focus on learning how to draw a first aid kit without interruptions.
Step-by-Step Structure: Outline Your Kit 🛠️
To start your first aid kit easy drawing, you’ll want to outline the basic shape. Begin with a rectangle or a square, which will serve as the main body of the kit. Make sure to:
- Draw lightly with your pencil so you can erase easily.
- Consider adding rounded edges for a more professional look.
- Sketch a handle on top to give it a realistic appearance.
This simple outline allows for creativity in subsequent details!
Add the Essentials Inside the Kit 🚑
Now it’s time to include some iconic items that belong in a first aid kit. Here are a few essentials you can consider drawing inside:
- Band-aids
- Antiseptic wipes
- Medical scissors
- Gauze pads
- Adhesive tape
These items not only enhance your drawing but also educate viewers about what actually belongs in a kit!
Incorporate Color for Vibrancy 🎨
Once you’re satisfied with your pencil drawing, it’s time to bring your creation to life with color. Use bright red for the kit, and don’t forget to color in the medical supplies! For a cohesive look:
- Keep colors vibrant and appealing.
- Use shading techniques for a three-dimensional effect.
- Highlight the essentials to make them stand out.
Coloring is an enjoyable way to unlock your creativity and enhances the overall appearance of your first aid kit easy drawing.
Final Touches and Detailing 🖌️
To complete your masterpiece, add finishing touches that convey professionalism. Use your fine-tip pen to outline the shapes clearly, and erase any unnecessary pencil marks. An excellent tip when learning how to draw a first aid kit is:
- Add labels or symbols associated with each item.
- Consider including a cross symbol on the kit itself.
- Experiment with patterns or textures on the kit’s surface.
These details will make your drawing pop and feel complete!
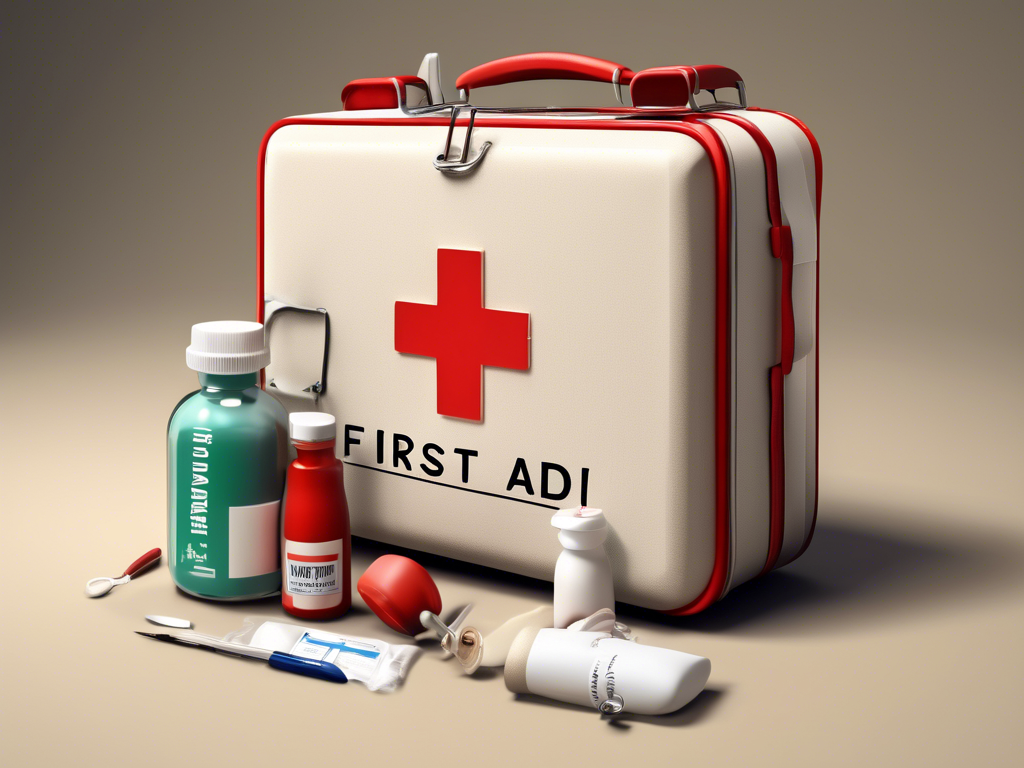
Essential Supplies: Materials You Need for Drawing a First Aid Kit
Choosing the Right Paper for Your Drawing 📄
When learning how to draw a first aid kit, selecting the appropriate paper is crucial. Opt for thicker paper that can withstand the pressure of your pencil and pigments without warping. Consider these types:
- Sketch paper: Perfect for rough drafts and outlines.
- Mixed media paper: Great for both pencil and color mediums.
- Watercolor paper: Ideal if you plan to use water-based markers or paints.
Choosing the right paper enhances the quality of your drawing and allows for better color application.
Investing in Quality Drawing Tools ✍️
To master first aid kit easy drawing, invest in quality drawing instruments. Here’s what you should include in your toolkit:
- Pencils: A range from HB to 6B for various shading techniques.
- Erasers: Both a standard eraser and a kneaded eraser for precision.
- Markers or Fine-tipped Pens: For outlining and adding details.
- Colored Pencils or Markers: To add vibrant colors to your kit.
High-quality tools will significantly improve your drawing experience and final outcome.
Color Selection for a Realistic Look 🎨
Selecting the right colors is essential when creating your first aid kit. Here are some tips for color selection:
- Use bright red for the kit’s body, as it is universally recognized.
- Consider neutral tones for items like gauze pads and scissors to create realism.
- Add pops of color for decorative elements, such as patterns on the kit.
By carefully choosing your colors, you can enhance the appeal of your first aid kit easy drawing and make it visually engaging.
Additional Accessories to Enhance Your Drawing 🖌️
Apart from the basic supplies, consider using additional accessories to refine your first aid kit design:
- Ruler: Perfect for straight lines and to ensure symmetry.
- Blending Stumps: Great for smooth transitions in shading.
- Transparent Sheets: Useful for tracing and perfecting outlines.
These accessories can elevate your drawing technique and help you achieve a more polished final product.
Organization of Your Supplies 🗂️
Keeping your supplies organized will streamline your creative process. Use a designated drawing box or pouch to store your materials. Here are some tips on how to organize effectively:
- Group similar items together (e.g., all pencils in one compartment).
- Ensure your workspace is clutter-free to foster creativity.
- Have a sketchbook handy for practice and brainstorming ideas.
An organized space will allow you to focus more on learning how to draw a first aid kit without distractions.
Step-by-Step Instructions: Mastering Each Component of Your First Aid Kit Drawing
Creating the Basic Structure 📏
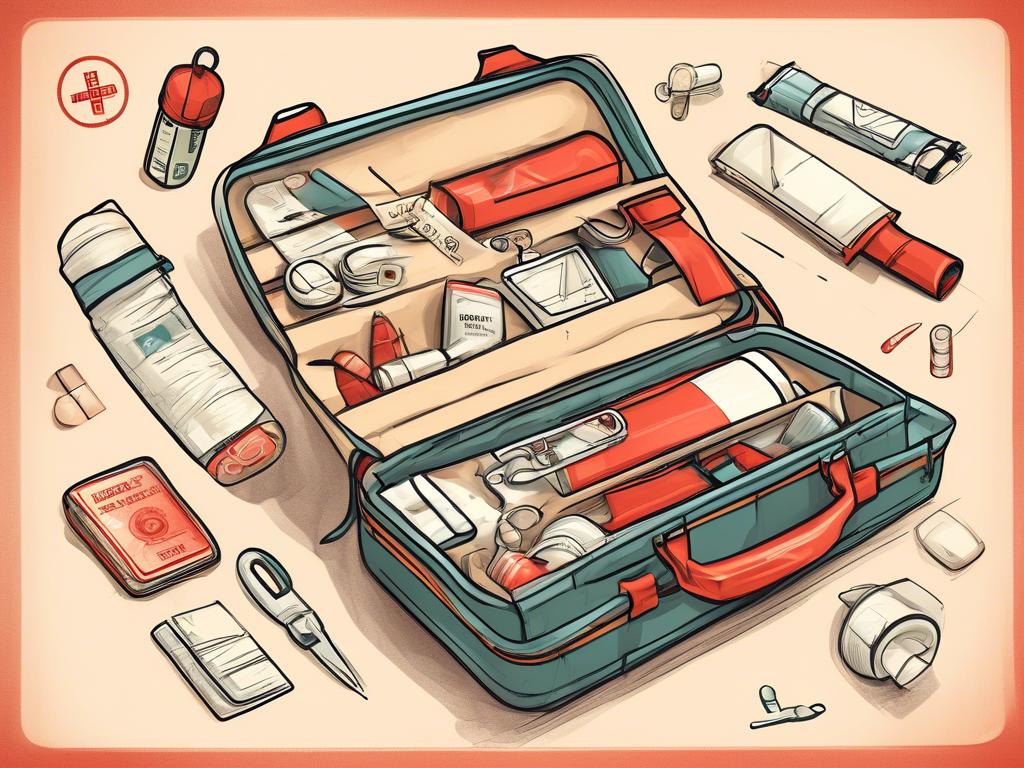
To kick off your journey in how to draw a first aid kit, start by conceptualizing its basic shape. Use a rectangle or square as the primary framework for the kit. When sketching this outline, remember to:
- Keep your lines light with a pencil for easy adjustments.
- Add rounded corners to give it a softer, more approachable look.
- Incorporate a handle on top to complete the kit’s design.
This foundational structure is crucial before diving into finer details.
Detailing the Kit’s Contents 🩹
Next, it’s time to fill your first aid kit with essential items. Think about incorporating the following supplies into your drawing:
- Band-aids 🩹
- Antiseptic wipes 🧴
- Medical scissors ✂️
- Gauze pads 🥼
- Adhesive tape 📎
These details not only enrich your drawing but educate others on what a typical first aid kit includes!
Coloring Your Creation 🎨
Once you’re pleased with the structure and contents, it’s time to bring your first aid kit easy drawing to life using color. Here are some tips for coloring:
- Utilize vibrant red for the kit’s exterior, as it symbolizes emergency care.
- Insert realistic colors for the items inside the kit.
- Experiment with shading techniques to create depth and dimension.
Bringing color into your drawing not only highlights key features but also makes it visually engaging.
Add Final Touches and Accents 🖍️
To wrap up your masterpiece, provide those essential final touches. This step involves outlining your shapes with a fine-tipped pen for clarity. Consider these additional details:
- Add labels or symbols representing each item within the kit.
- Include a prominent red cross symbol on the kit’s surface.
- Play with patterns or textures to make the kit unique.
These finishing touches will elevate your drawing to a professional level and complete your first aid kit easy drawing!
Practice Makes Perfect 🔄
Finally, remember that mastering how to draw a first aid kit takes practice and patience. Don’t be discouraged if your first attempt doesn’t meet your expectations. Engage in regular practice by:
- Sketching different styles and variations of first aid kits.
- Refining your skills using tutorials and instructional videos.
- Sharing your work with others for feedback and suggestions.
With consistent effort, you’ll soon find yourself confident in creating incredible first aid kit drawings!
Tips for Beginners: Making First Aid Kit Drawing Easy and Fun
Start with Simple Shapes 🟠
When you’re learning how to draw a first aid kit, begin by focusing on basic geometric shapes. This simplifies the process significantly! You can start by sketching:
- A rectangle or square for the body of the kit.
- A smaller rectangle on top for the handle.
- Circles or ovals for the items that will be visible inside.
Using simple shapes helps you build a strong foundation before adding details, making your first aid kit easy drawing more manageable and enjoyable.
Use Reference Images 📸
Having visual references can greatly assist beginners in their drawing journey. Search for images of actual first aid kits online. Use them as guides to:
- Understand proportions and dimensions.
- Inspire creativity when designing your own kit.
- Identify essential items commonly included in a kit.
Reference images take the guesswork out of how to draw a first aid kit while enhancing your understanding of its structure.
Break It Down into Steps 📝
To avoid feeling overwhelmed, break down the drawing process into smaller steps. Here’s a simple approach:
- Sketch the outline of the kit.
- Add the handle and any compartments.
- Draw the essential items inside the kit.
- Color and detail your drawing.
Following these steps sequentially not only makes it easier but also ensures that your first aid kit easy drawing turns out neat and organized.
Make it Personal 🎉
Adding personal touches can make your drawing experience fun! Consider customizing your first aid kit by:
- Incorporating favorite colors for the kit.
- Including unique items you think might be helpful.
- Decorating the outside with stickers or patterns.
Personalizing your creation adds a layer of enjoyment and enhances your connection to your art.
Practice Regularly and Experiment 🚀
The key to mastering how to draw a first aid kit is regular practice. Don’t be afraid to experiment with different styles or techniques! Here are some ways to boost your skills:
- Try drawing kits in various sizes or shapes.
- Use different materials like watercolors or pastels.
- Join workshops or online tutorials to learn new methods.
Remember, practice will not only enhance your skill set but also fuel your creative expression in first aid kit easy drawing.
Understanding Proportions: The Key to Realistic First Aid Kit Art
The Importance of Proportions in Drawing 📏
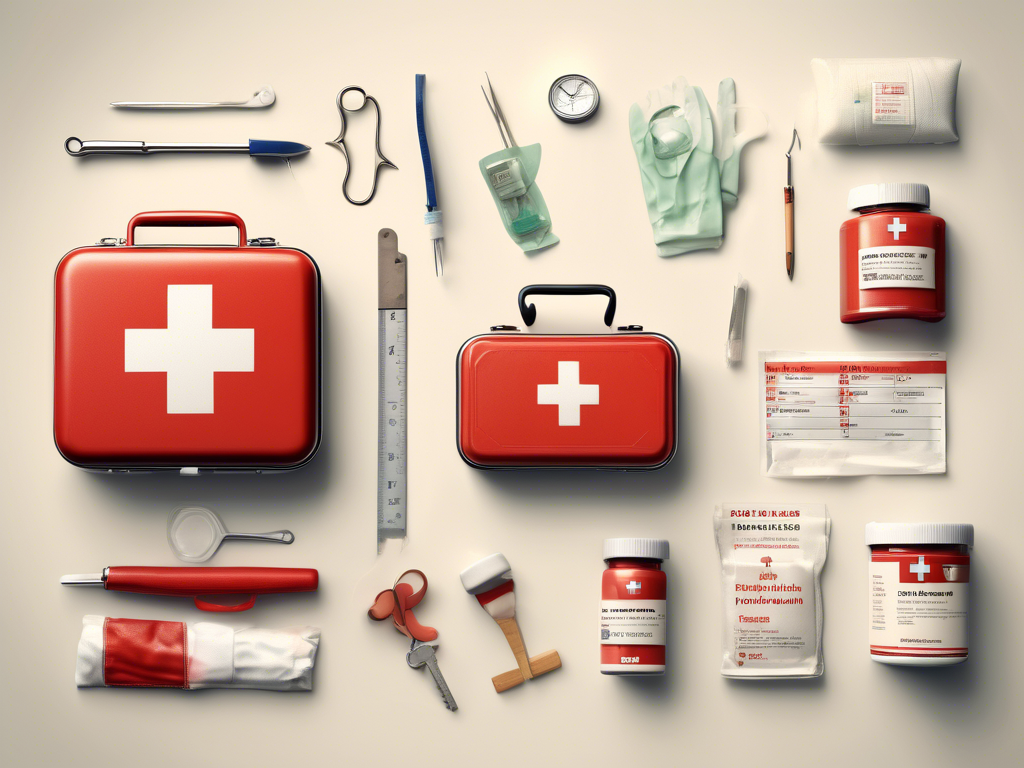
When learning how to draw a first aid kit, understanding proportions is crucial. Proper proportions ensure that all elements within your drawing fit together harmoniously, creating a realistic appearance. To grasp this concept, consider the following:
- Use reference images to study the actual sizes of a first aid kit and its components.
- Break down the kit into recognizable parts—body, handle, and contents—and measure them relative to one another.
- Pay attention to the scale; items inside the kit should match the overall size of the kit itself.
Mastering proportions will lead to a more authentic representation of your first aid kit easy drawing.
Measuring Techniques for Accurate Drawing 📐
To achieve accurate proportions, employing specific measuring techniques can be beneficial. Here are some methods you can use:
- **Pencil Measuring:** Hold your pencil at arm’s length to gauge proportions, comparing one part of the kit to another.
- **Grid Technique:** Use a grid overlay on both your reference image and drawing paper. This can help maintain consistent ratios and scales.
- **Comparative Measurement:** Continuously compare elements in your drawing with the original reference to track discrepancies in size.
These techniques will assist you in maintaining the correct proportions while you sketch your first aid kit.
Adjusting Proportions for Style 🎨
While realism is essential, sometimes you may want to adjust proportions for stylistic effects. Consider these tips when customizing your drawing:
- **Exaggerate Certain Features:** Make the handle larger or the contents more prominent to give your kit character.
- **Stylize the Shape:** Instead of traditional rectangular shapes, try designs that invoke fun or whimsy, like rounded edges or playful patterns.
- **Play with Depth:** Adjusting proportions can create a sense of depth; make some items appear closer by altering their size versus others further back.
Personalizing your first aid kit easy drawing through proportion adjustments can bring your artistic vision to life!
Practicing Proportions with Sketches ✍️
Before finalizing your drawing, practice sketching various proportions through quick sketches. This exercise helps solidify your understanding and skills:
- Devote time to sketch multiple versions of the kit, altering proportions each time.
- Draw the kit from different angles to diversify your understanding of how proportions change with perspective.
- Keep it fun! Experiment with whimsical or exaggerated designs alongside realistic ones.
Regular practice builds confidence, making your how to draw a first aid kit journey more enjoyable.
Feedback and Refinement 🏆
Lastly, seek feedback on your drawings from peers or online communities. Comparing your work with others can highlight areas for refinement in proportions:
- Share your drawings on art platforms for constructive criticism.
- Incorporate tips and corrections from experienced artists to improve your proportional accuracy.
- Continuously revisit and refine your work based on the feedback received.
Utilizing feedback will enhance your skills and help you master first aid kit easy drawing with confidence!
Adding Details: Enhancing Your First Aid Kit Drawing with Color and Texture
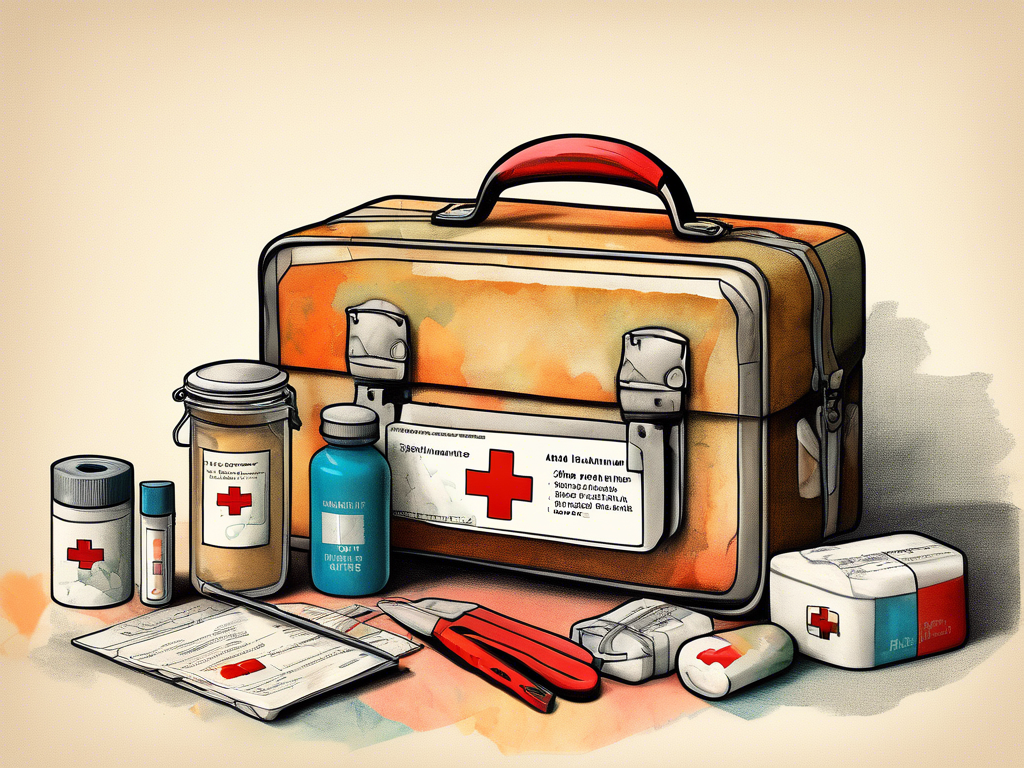
Choosing the Right Colors for Your Kit 🎨
Incorporating color into your first aid kit easy drawing can significantly enhance its visual appeal. To make your kit pop, consider the following color choices:
- Red: Typically used for the kit’s exterior, symbolizing emergency aid.
- Neutral Tones: Use these for items like gauze pads and antiseptics to create a realistic look.
- Pops of Color: Bright colors can highlight individual items like band-aids or ointments, making them stand out.
Selecting an effective color palette is essential for engaging viewers and conveying the kit’s purpose.
Texturing Techniques for Realism 🖌️
Adding texture to your drawing can provide depth and realism, making your first aid kit more visually interesting. Here are some techniques to consider:
- Shading: Use a darker shade of the base color to create shadows on one side of the kit.
- Patterns: Experiment with stripes or polka dots on the kit’s surface for a fun twist.
- Cross-hatching: For items inside the kit, use cross-hatching to suggest different materials like metal or plastic.
Employing these texturing techniques will take your drawing from flat to dynamic!
Highlighting Important Features ✨
Drawing attention to key features within your first aid kit easy drawing can guide viewers to understand the essentials at a glance. Here’s how to effectively highlight features:
- Bright Outlines: Use a fine-tipped marker to outline critical items in the kit, making them more pronounced.
- Emphasize Labels: Consider adding labels to items like “band-aid” or “gauze” using a distinct font style.
- Contrast: Pair dark and light shades to emphasize differences between the kit and its contents.
Highlighting helps viewers quickly identify important aspects of your drawing.
Creating Depth with Shadows and Highlights 🌟
To achieve a three-dimensional effect in your drawing, adding shadows and highlights is essential. Here’s how to create that depth:
- Shadow Placement: Determine a light source direction and add shadows opposite to it with a darker color.
- Highlight Areas: Apply a lighter color on surfaces that would naturally catch light, such as the top of the kit or the front of items.
- Blending: Use blending tools to smooth transitions between light and dark areas for a more realistic appearance.
Employing shadows and highlights will elevate your how to draw a first aid kit to a professional level!
Final Flourishes: Adding Personal Touches 🎉
Personalizing your first aid kit easy drawing can reflect your unique style. Consider including:
- Stickers or Icons: Add small symbols or designs on the kit for character.
- Custom Color Schemes: Use your favorite colors to make the kit feel more personal.
- Textures: Experiment with various drawing techniques like stippling or watercolor effects for creativity.
These final flourishes will not only make your drawing distinct but also a true representation of your artistic flair!
Common Mistakes to Avoid When Learning How to Draw a First Aid Kit
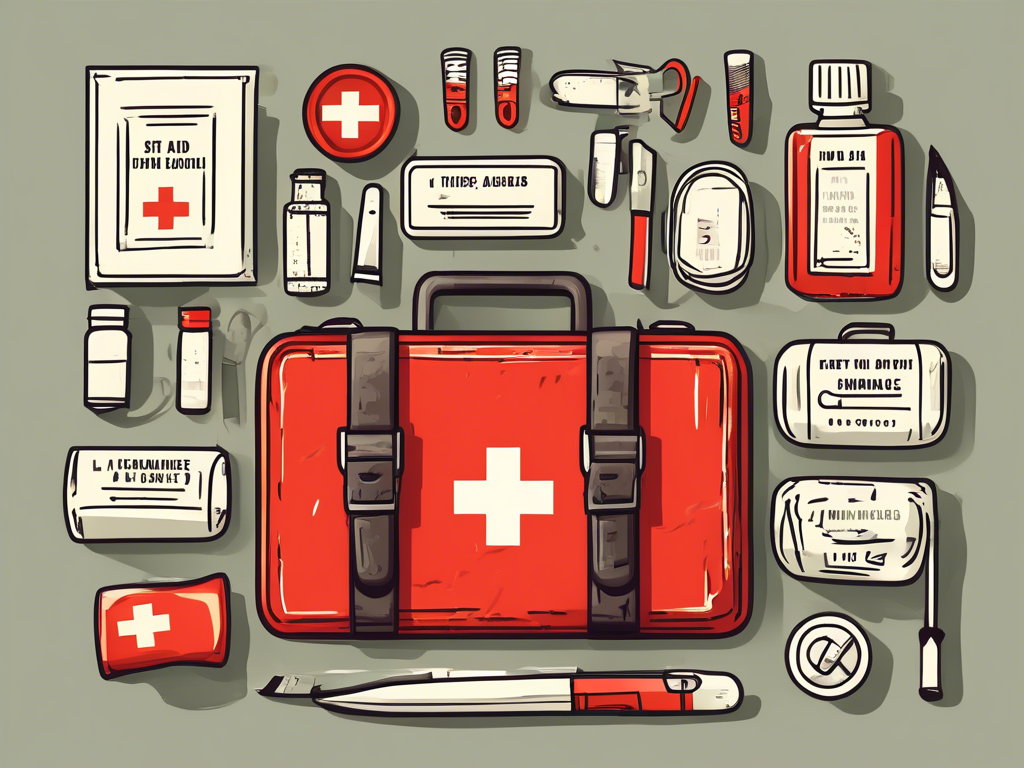
Skipping the Basics: The Importance of Structure 📏
One common mistake when learning how to draw a first aid kit is neglecting the foundational structure. Beginners often jump right into detailing without establishing a strong base. Remember to:
- Start with simple shapes like rectangles or circles.
- Outline the kit’s main body lightly for easy adjustments.
- Ensure proper proportions before adding details.
A solid structure is crucial for a successful drawing and will save time in the long run!
Overcomplicating Details Too Soon 🎨
Another pitfall is getting overwhelmed by details before mastering the basics. While it’s tempting to draw every component perfectly, focus instead on simplified versions initially. Consider these tips:
- Start with iconic items—like band-aids or antiseptic wipes—in basic shapes.
- Gradually add complexity once you’re comfortable with the essentials.
- Use reference photos but don’t try to replicate every detail at once.
This will make your first aid kit easy drawing much more approachable!
Neglecting Color Theory 🎨
When coloring your first aid kit, a frequent mistake is ignoring color theory. Colors greatly influence how your drawing is perceived. Here’s what to keep in mind:
- Use appropriate colors; red for the kit itself symbolizes emergency care.
- Stick to a limited palette to create harmony in your drawing.
- Experiment with contrasting colors to highlight important features.
Understanding color choices is vital in enhancing your first aid kit easy drawing.
Not Taking Breaks to Evaluate Progress 🔄
Many aspiring artists overlook the importance of stepping back to assess their work. Continuous drawing without breaks can lead to burnout and missed mistakes. Make it a habit to:
- Pace yourself! Take breaks every 20-30 minutes.
- Review your drawing critically to identify areas for improvement.
- Ask for feedback from friends or online communities.
Taking breaks can provide fresh perspectives and help refine your how to draw a first aid kit skills.
Ignoring Practice and Experimentation ⚙️
Lastly, a common error is failing to practice regularly or experiment with different styles. Mastery takes time and consistency. To avoid stagnation, try to:
- Dedicate time each week to sketch various kits.
- Explore different mediums like colored pencils, markers, or watercolors.
- Join art groups or challenges to stay motivated.
Practice not only sharpens your skills but also makes the journey of creating a first aid kit easy drawing enjoyable!
Inspiration Corner: Explore Different Styles of First Aid Kit Illustrations
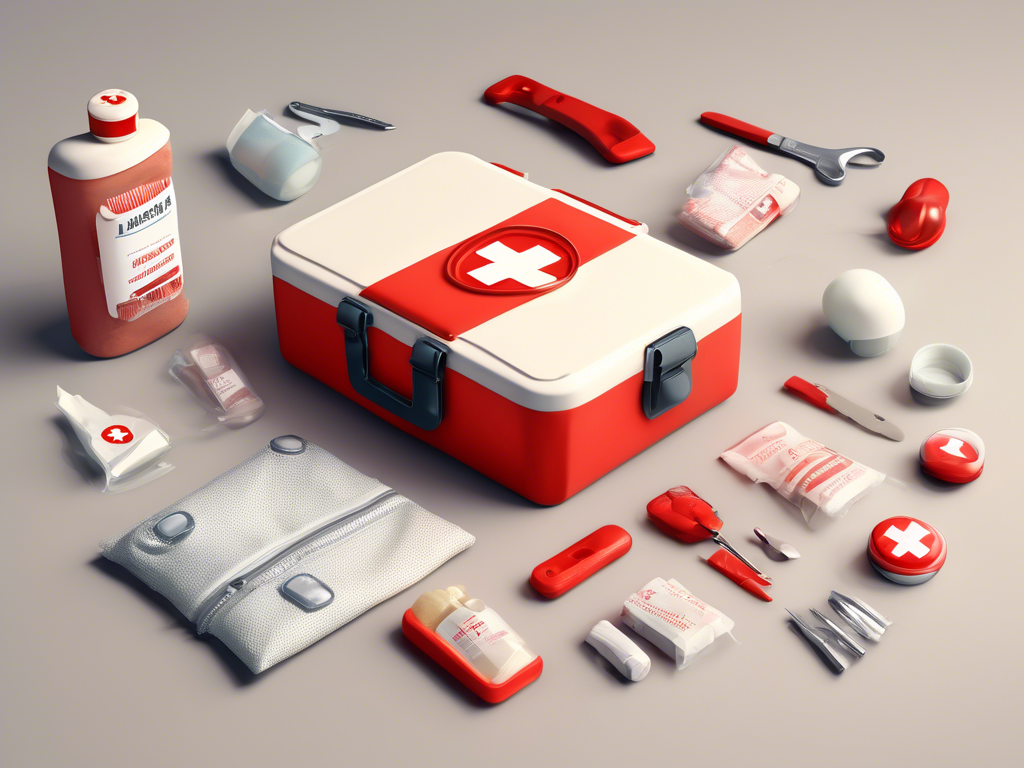
Minimalist Designs: Less is More 🖼️
When exploring different styles of first aid kit illustrations, consider the minimalist approach. This style focuses on simplicity and clean lines, making your drawing easy to understand. Here are some tips for a minimalist theme:
- Use basic shapes to create the kit’s outline.
- Limit the color palette to two or three colors for a cohesive look.
- Highlight only essential items in the kit, avoiding excessive detail.
This first aid kit easy drawing style conveys a clear message and appeals to modern design sensibilities.
Whimsical Styles: Adding Fun Elements 🎈
Injecting personality into your first aid kit drawing can be achieved through a whimsical style. Playful designs can attract attention and add a sense of joy. To create a whimsical illustration, try:
- Utilizing exaggerated proportions, like a massive handle or oversized band-aids.
- Incorporating fun patterns or bright colors that evoke cheerfulness.
- Adding friendly characters or cartoonish elements inside the kit.
This imaginative approach makes your how to draw a first aid kit experience exciting and engaging!
Realistic Renderings: Capture Every Detail 🎨
For those who enjoy realism, detailing each element of your first aid kit can create stunning results. This allows for depth and context. Here’s how to achieve a realistic rendition:
- Study reference images closely to capture accurate proportions.
- Use shading techniques to create shadows and highlights that mimic real-life appearance.
- Include intricate details like texture on each item for added realism.
Mastering realism requires practice but will lead to impressive first aid kit easy drawing results.
Abstract Interpretations: Think Outside the Box 🌀
Embrace creativity with abstract interpretations of a first aid kit. This approach is less about accuracy and more about conveying a feeling or concept. To explore abstract styles:
- Use vibrant colors and unexpected shapes to represent the kit.
- Focus on the emotional impact rather than literal representation.
- Incorporate mixed media elements to add texture and layers.
Such explorations can revitalize your understanding of how to draw a first aid kit and foster artistic growth!
Collage and Mixed Media: Layering Art Forms 📰
Experimenting with collage or mixed media can provide a unique take on your first aid kit drawing. This technique adds dimensionality and visual interest. Here’s how to incorporate this style:
- Combine drawn elements with real materials like fabric or paper.
- Incorporate photographs or prints as backgrounds to enhance your composition.
- Layer multiple textures and colors for a rich visual experience.
Mixing mediums not only diversifies your artistic repertoire but also makes your first aid kit easy drawing an intriguing piece of art!
Final Touches: How to Perfect Your First Aid Kit Drawing
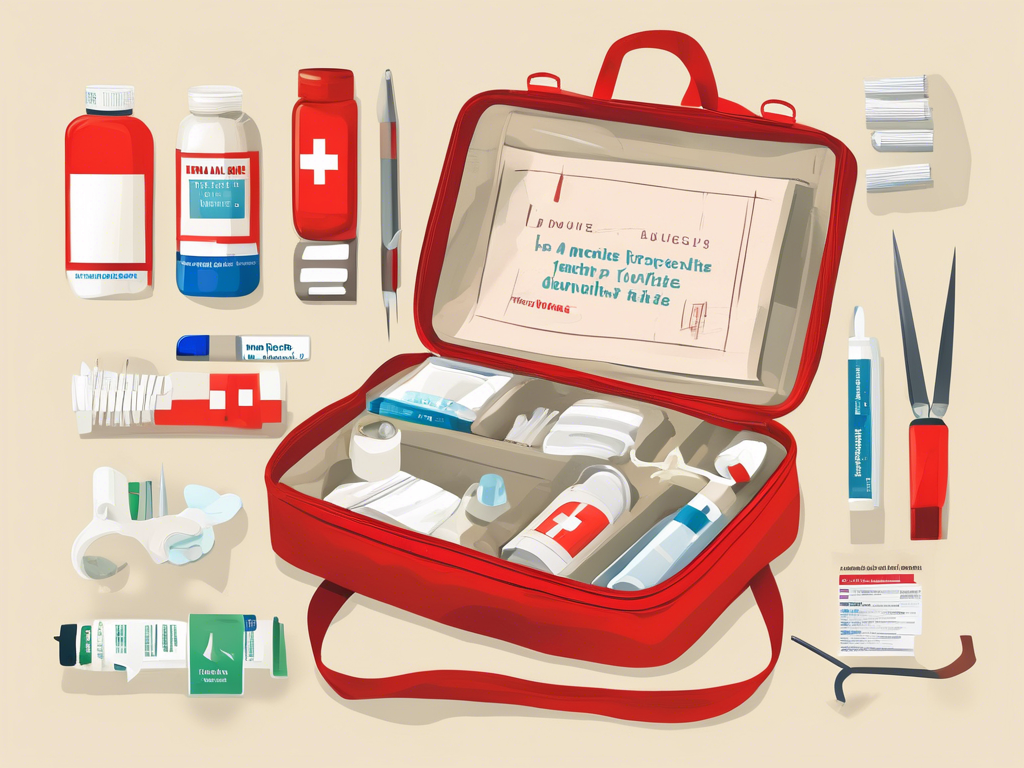
Refining Your Lines for Clarity ✏️
To achieve a polished look in your first aid kit drawing, it’s essential to refine your lines. Once you are satisfied with the basic sketch, go over your outlines with a fine-tipped pen or marker. Consider these tips:
- Use smooth strokes to ensure clean edges.
- Erase any leftover pencil marks for a professional finish.
- Revisit areas that seem too faint and reinforce them with ink.
A well-defined outline can significantly enhance the impact of your how to draw a first aid kit, making it visually appealing!
Adding Texture for Depth 🌊
Texture is a crucial element that brings your first aid kit easy drawing to life. By adding texture, you create a more dynamic image. Here’s how you can achieve this:
- Apply shading on one side of the kit to simulate light falling on it.
- Utilize patterns like cross-hatching or stippling for items inside the kit.
- Consider using colored pencils for softer textures to blend seamlessly.
Incorporating texture will provide depth and realism to your drawing, enhancing its overall quality.
Finalizing Colors with Subtle Blending 🎨
After outlining your drawing, it’s time to focus on colors. Finalizing your coloring with subtle blending techniques can elevate your first aid kit artwork. Follow these steps:
- Layer colors to build richness; start with lighter shades and add gradually darker ones.
- Blend colors together with a colorless blender or your fingers for smooth transitions.
- Don’t forget to add highlights by leaving certain areas uncolored or using a lighter shade.
Effective color blending will give your first aid kit easy drawing a professional touch and visual allure.
Incorporating Personal Symbols or Logos ❤️
To add a unique flair to your first aid kit, consider incorporating personal symbols or logos. This custom touch can make your drawing feel special and one-of-a-kind. Ideas include:
- Add your initials or a small emblem somewhere on the kit.
- Include a favorite phrase or motto that resonates with you.
- Integrate playful designs or patterns that reflect your personality.
Personalizing your drawing not only enhances its charm but also connects it to your artistic identity.
Review and Reflect for Improvement 🔍
Finally, take the time to review and reflect on your completed drawing. Assessing your work can reveal important insights for future projects. Here’s how you can do this:
- Observe your drawing from different distances to identify areas that might need adjustments.
- Seek feedback from peers or art communities to gain constructive criticism.
- Make notes on what techniques worked well and which could be refined next time.
Reflecting on your work reinforces learning and helps you improve your how to draw a first aid kit skills for future endeavors.
Summing up
In conclusion, mastering the art of drawing a first aid kit is a rewarding endeavor that enhances both your artistic skills and your understanding of an important health tool. We have covered essential supplies, step-by-step instructions, and valuable tips for beginners to make the process of creating this illustration easy and enjoyable. Remember to pay special attention to proportions, details, and colors, as these elements will elevate your drawing from basic to remarkable.
As you practice your first aid kit easy drawing, you may find yourself exploring various styles and designs that can inspire future projects. Each unique rendition not only showcases your creativity but also reinforces the significance of being prepared for emergencies. By illustrating a first aid kit, you’re engaging with a vital aspect of our lives—safety—and bringing awareness to its importance through art.
So why wait? Grab your materials, follow the steps we’ve outlined, and start your creative journey today. Whether it’s for personal enjoyment or a project, this guide equips you with everything you need. Let’s transform that blank canvas into a beautiful representation of health and safety. Happy drawing!
